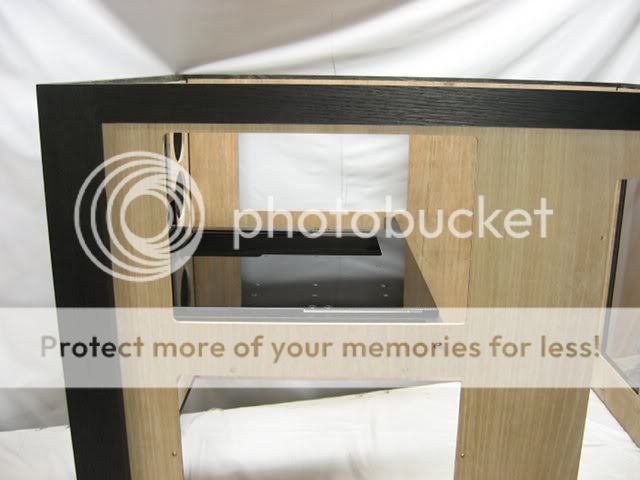
Cutouts for accessing and viewing the inside of the top case were routed out of the side panels. I was able to re-use two router template jigs for the cutouts, although one had to be mod'd to reduce the width of the cutout.
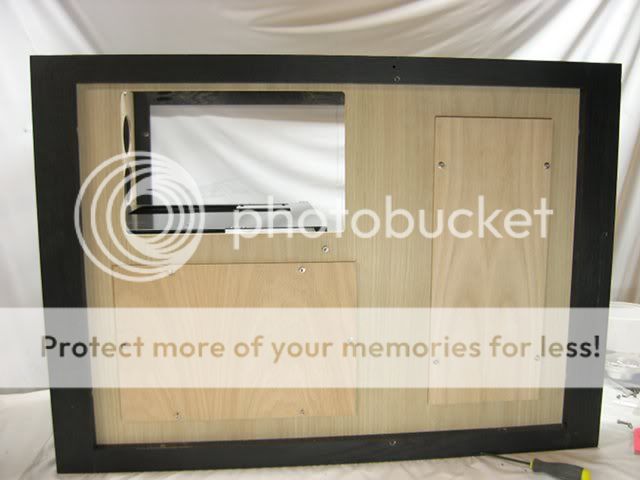
Threaded inserts were installed in order to attach removable plywood covers over the cutouts.
My next task is to build a shelf to fix that droopy motherboard tray.
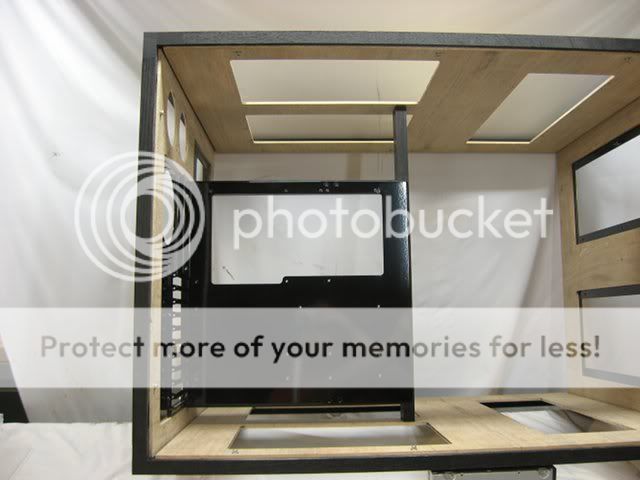
I managed to spend a few hours in the shop this morning working on fastening the top divider to the case itself. But just like everything else on this case, nothing is fastened permanently, which meant I needed to install some more threaded inserts.
The divider is attached to the side panel's solid oak rails:
It's finally taking some good recognizable shape and it looks incredible. I'm actually most curious about fan and rad placement as well as wire management.
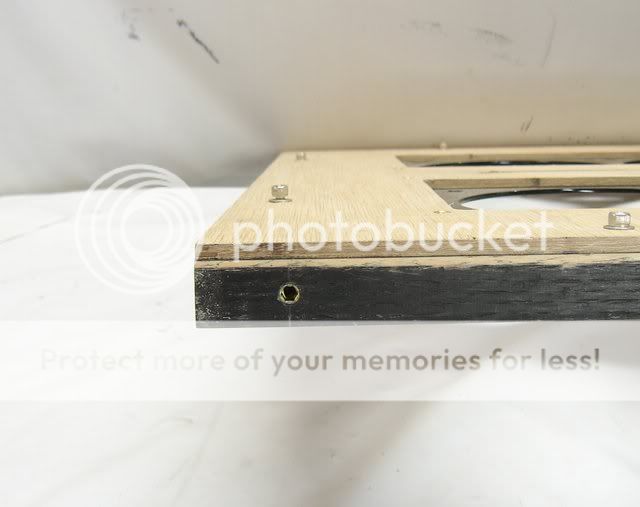
Even the most mundane aspects of a build often require many small steps in order for them to come out just right. For example, in this build the fastening of the side panel covers required having to accurately transfer the locations of several threaded inserts to the covers, which was accomplished by first screwing in some button head screws into the threaded inserts.
Followed by taping a cover perfectly centered over the cutout. And then using a deep throat clamp, transfer an impression of the button head screw into the backside of the cover.
Lastly, with all of the fastening and unfastening of bolts into and out of the threaded inserts, some of them started to become loose. After testing many types of glues, the best method for fixing the loose threaded inserts was to flood the area with Cyanoacrylate glue. Blue painters tape with punched-out holes was used to prevent getting glue everywhere.