Hello!
My name is Johan Nyman, Im 21 years old and living in Sweden. I recently finished two mods, CURV3D and F4DE, one scratchbuild and one casemod. So now Im going to work on a older scratchbuild that I want to upgrade and also fix the small mistakes I did before. And I want to share this build at this forum!
This time I will also add a custom watercooling loop and other goodies.
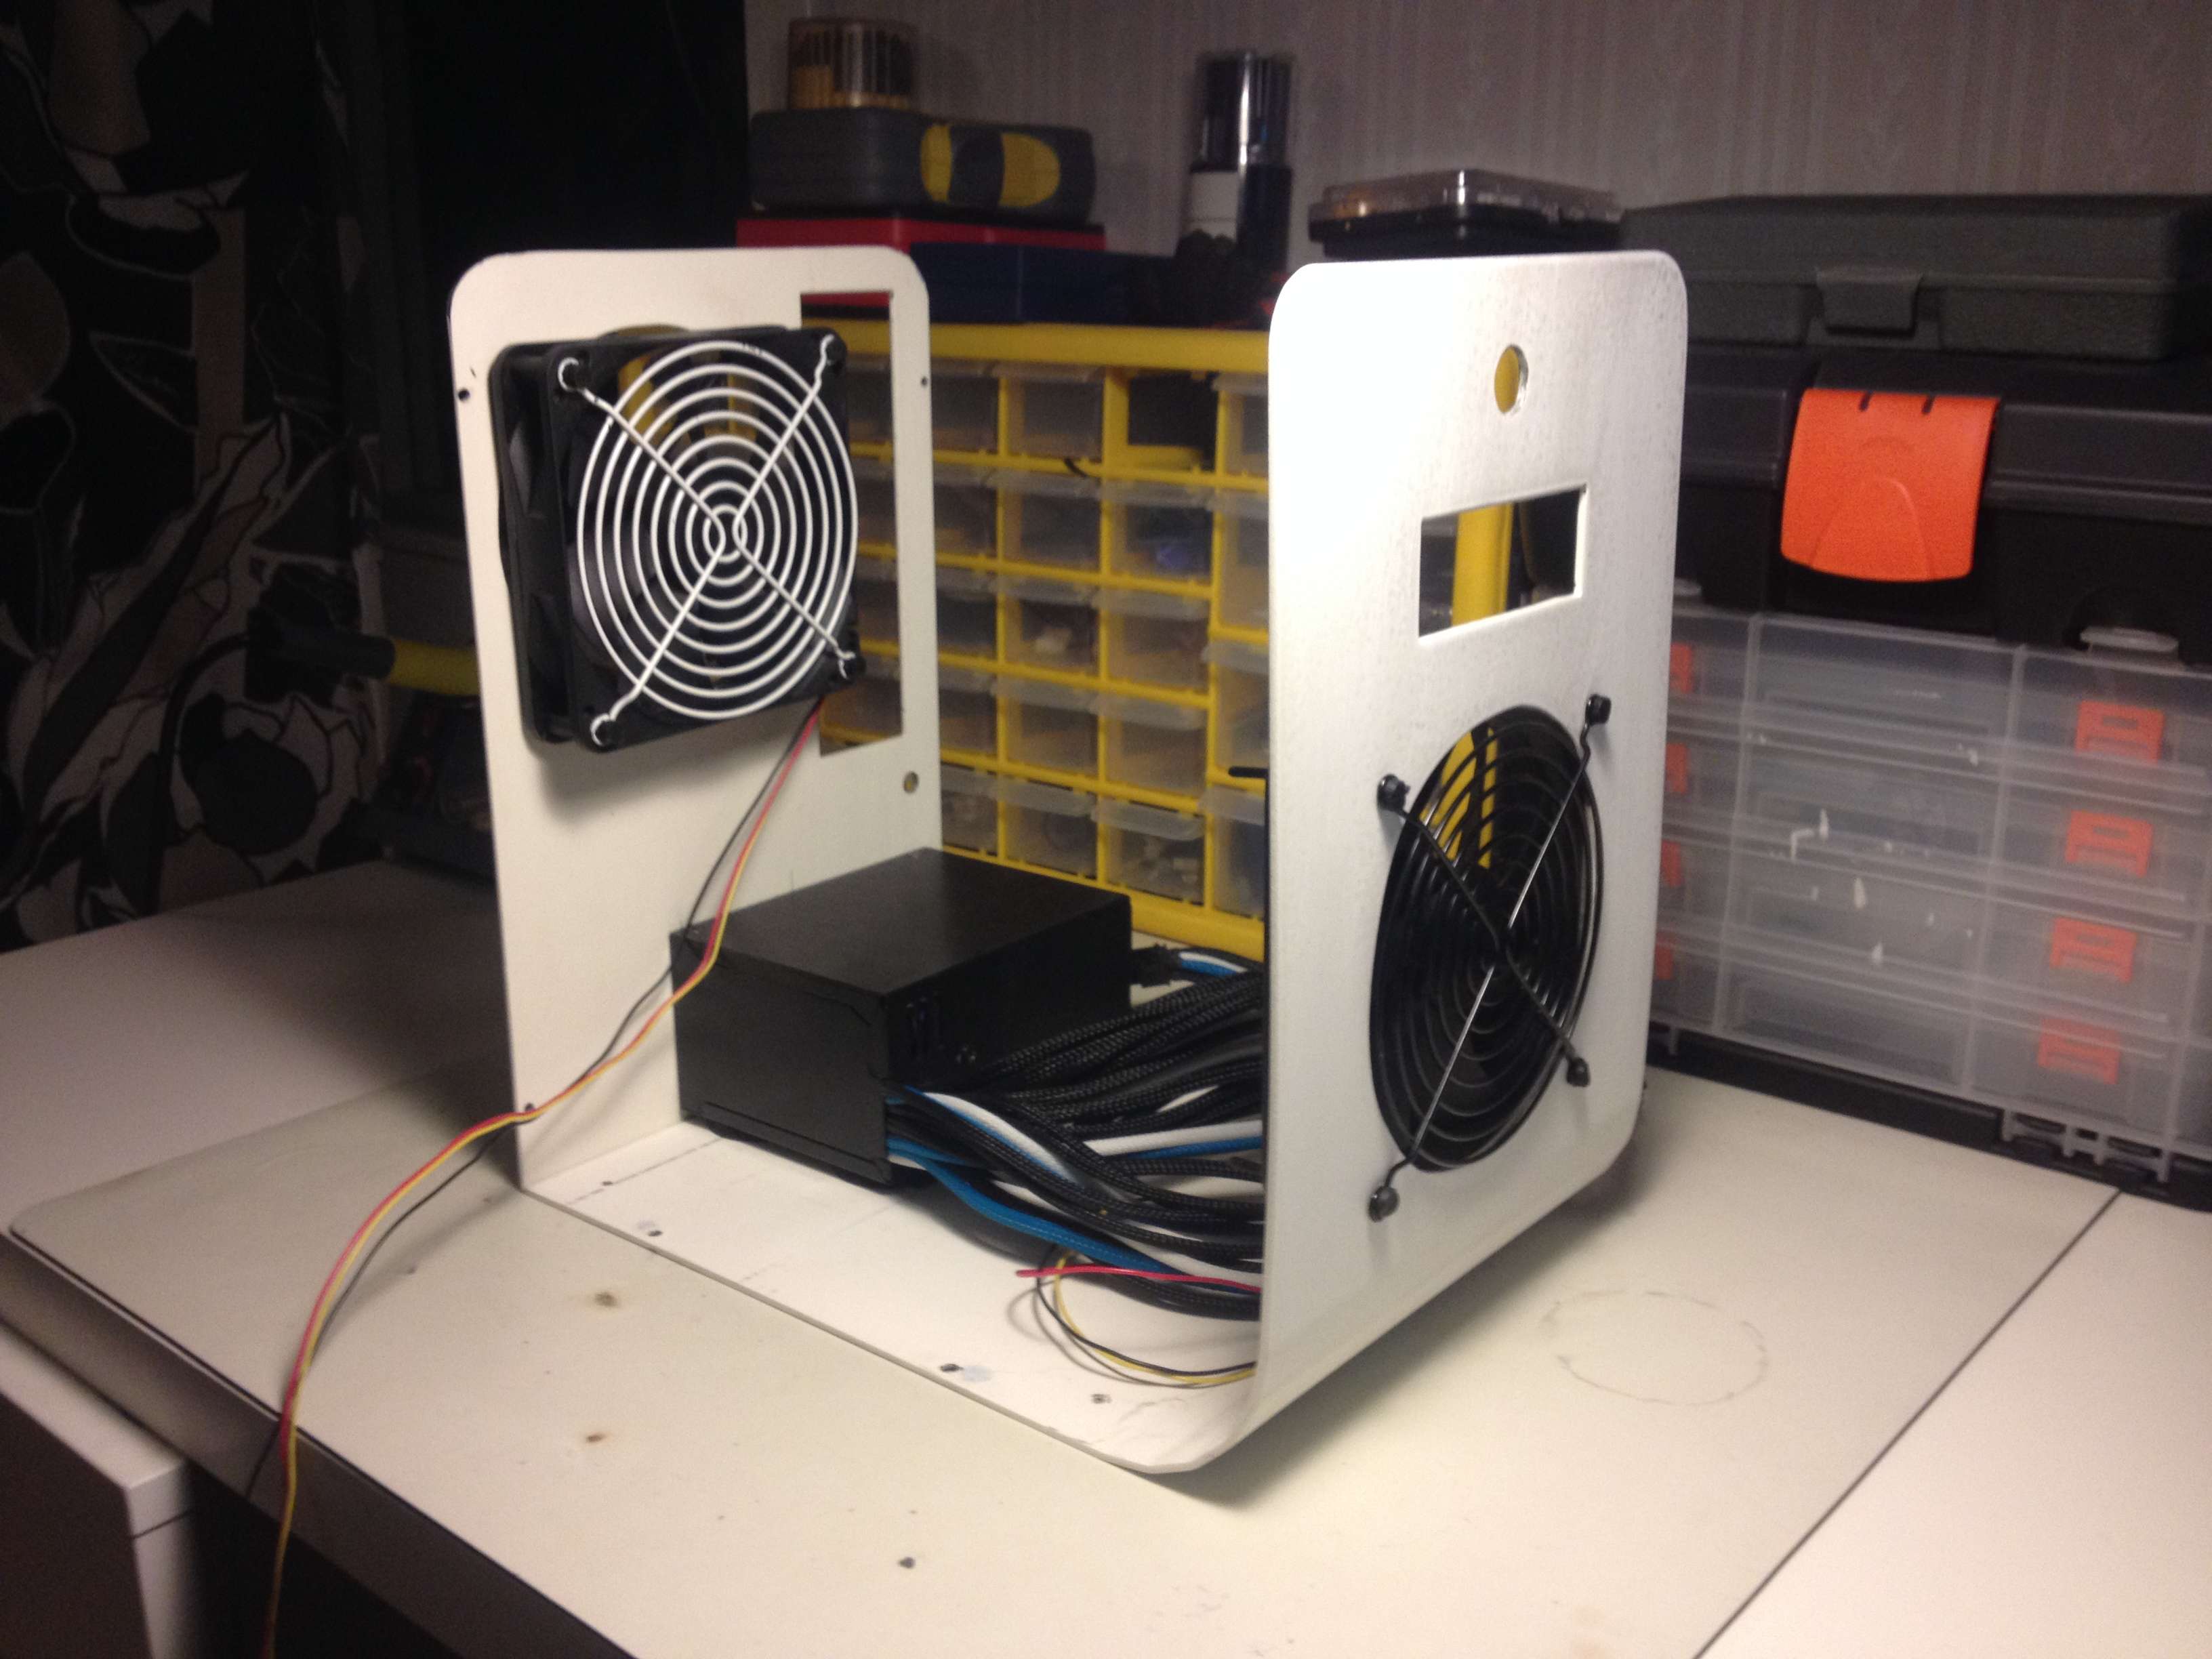
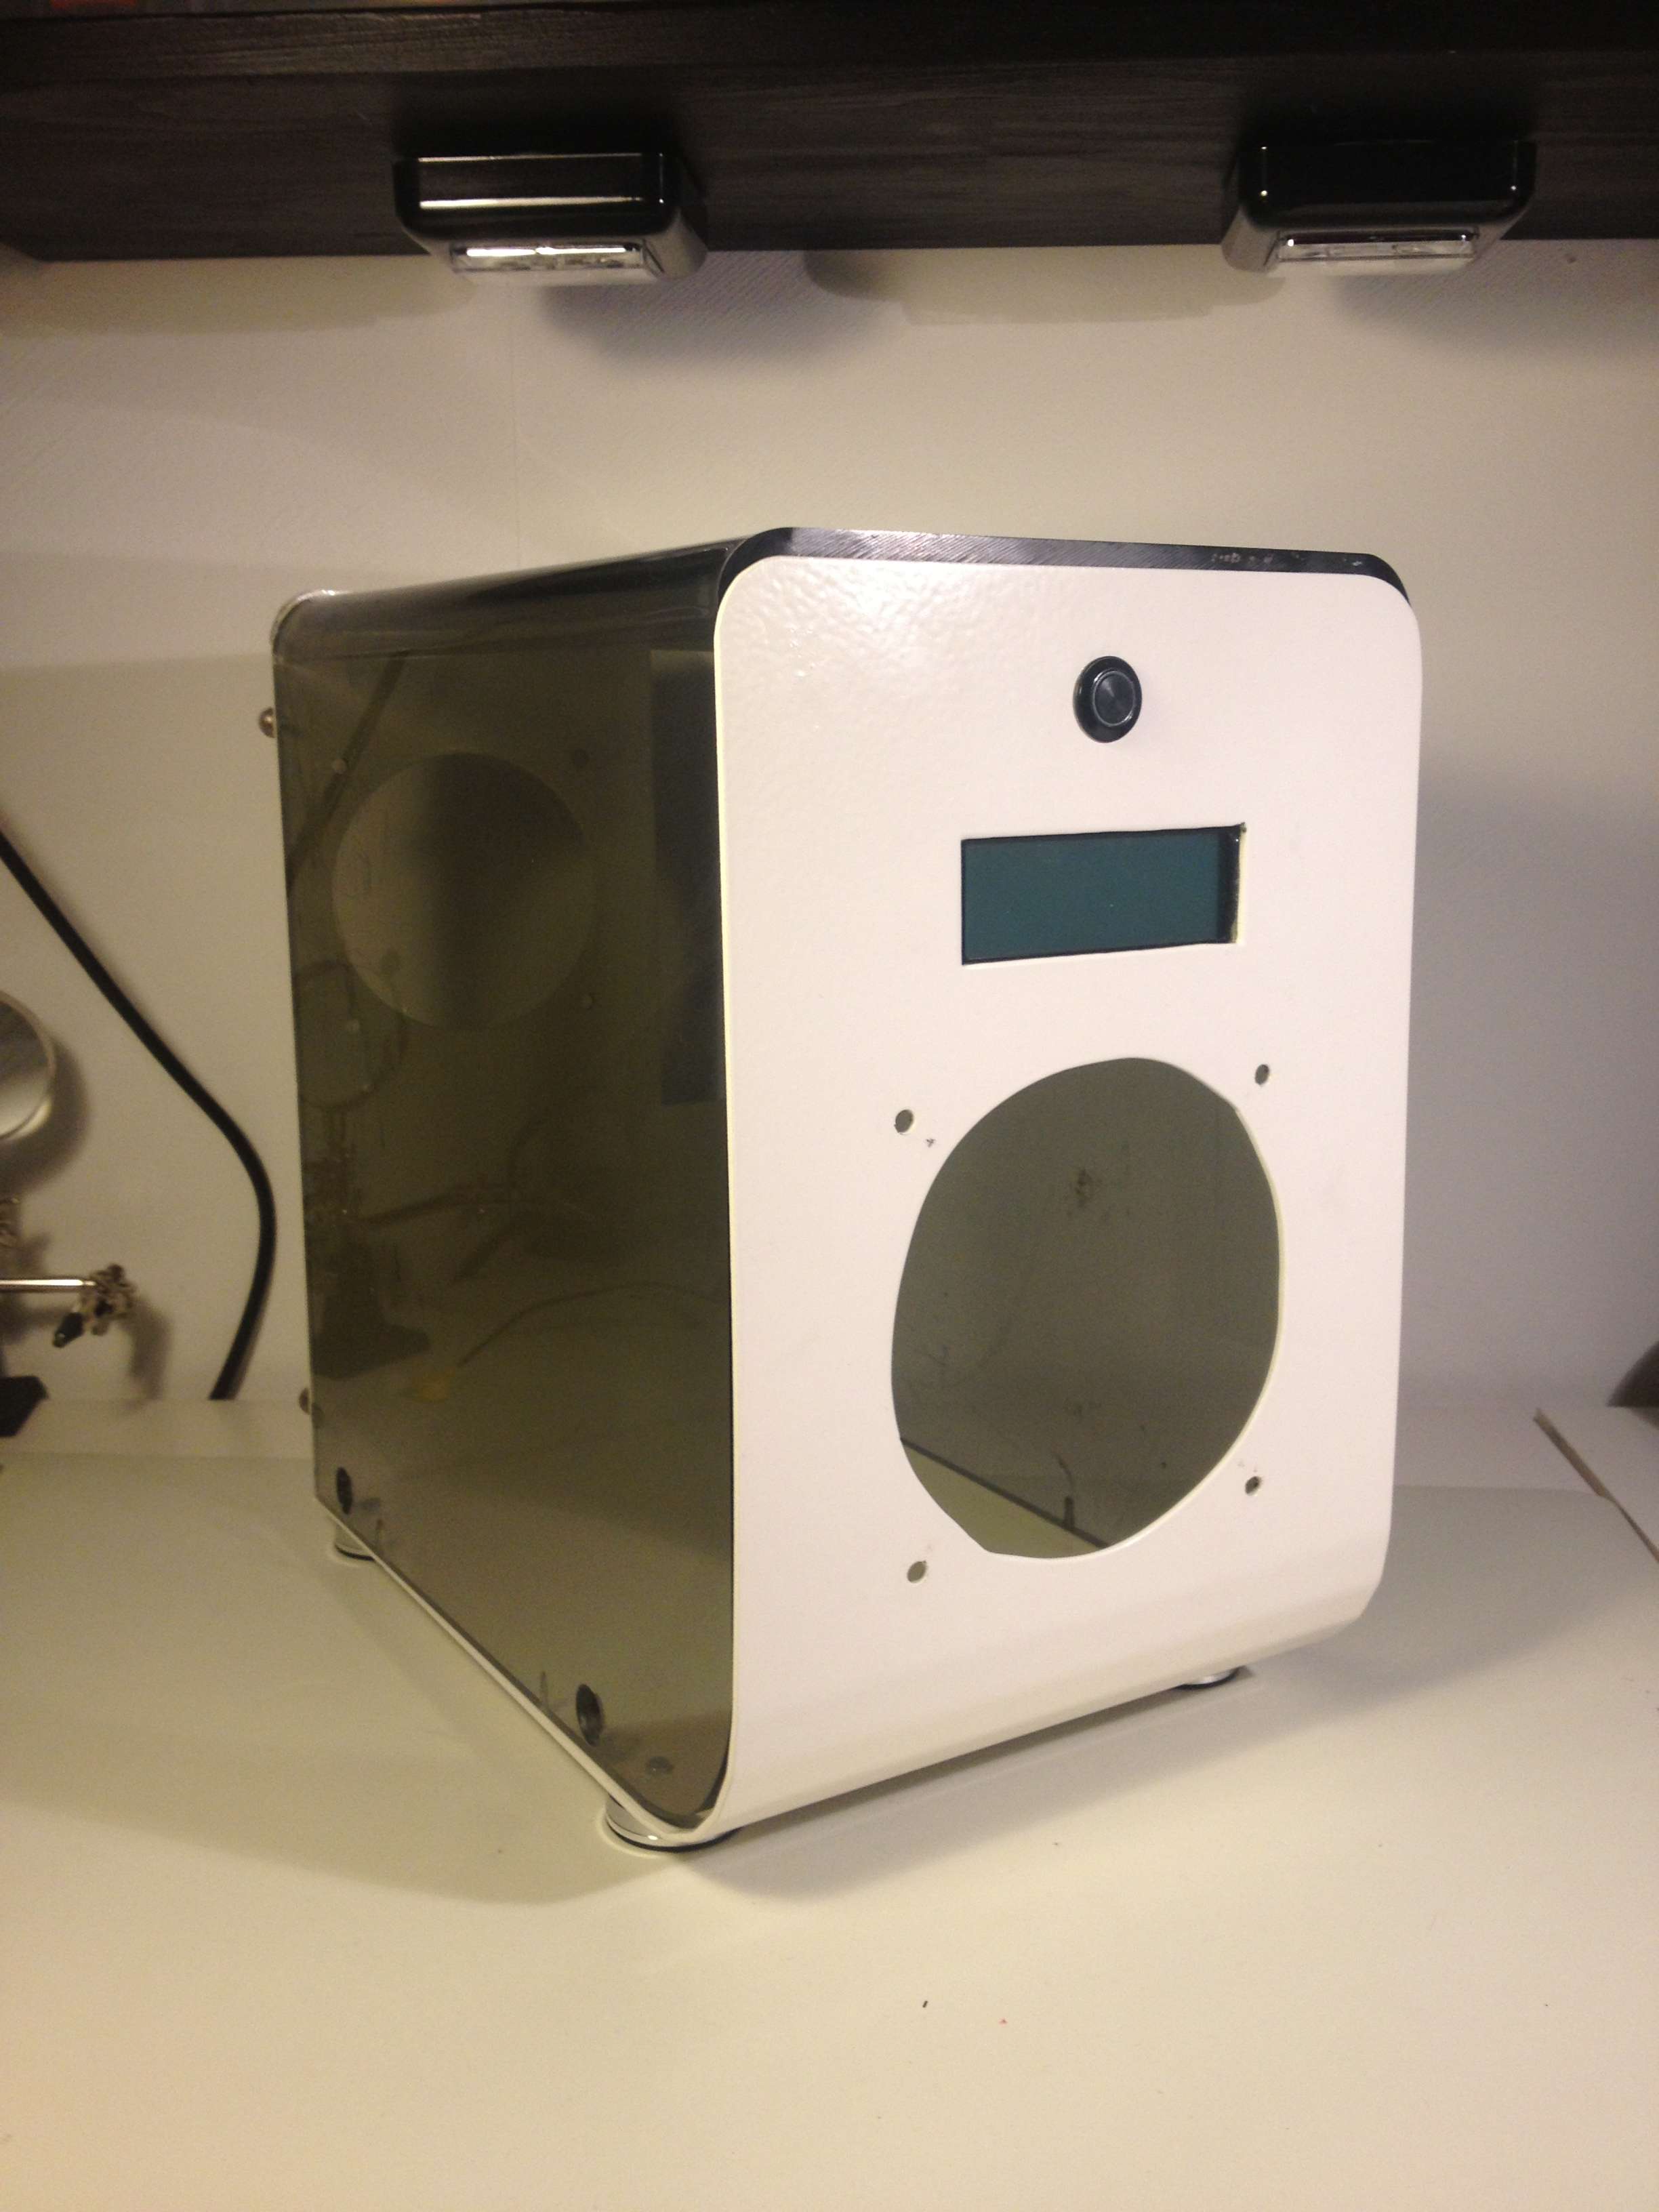
Well lets start by some pictures of the parts of the case that I have to work with right now.
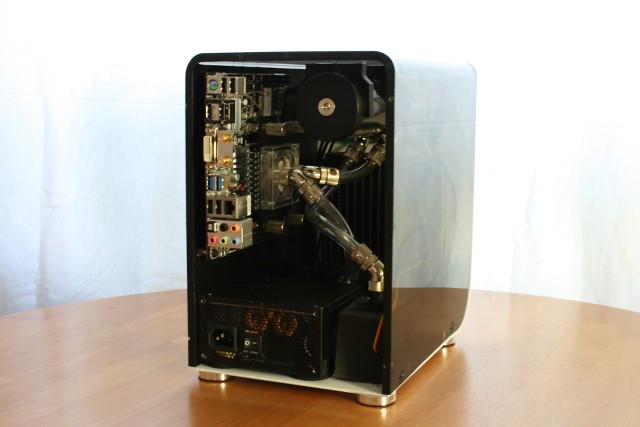
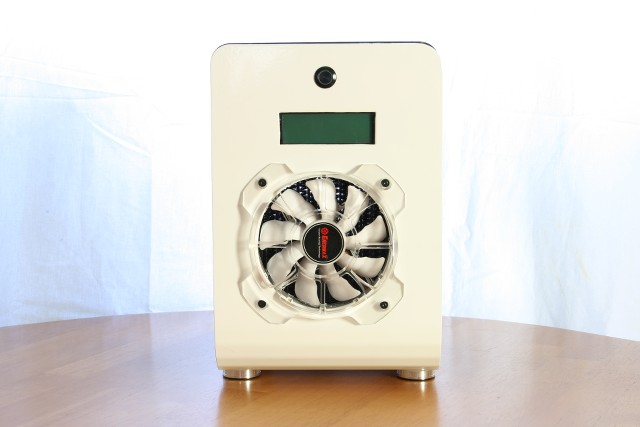
It consists of the parts, the frontpanel, the sides and the backpanel. All together it creates a nice shaped case.

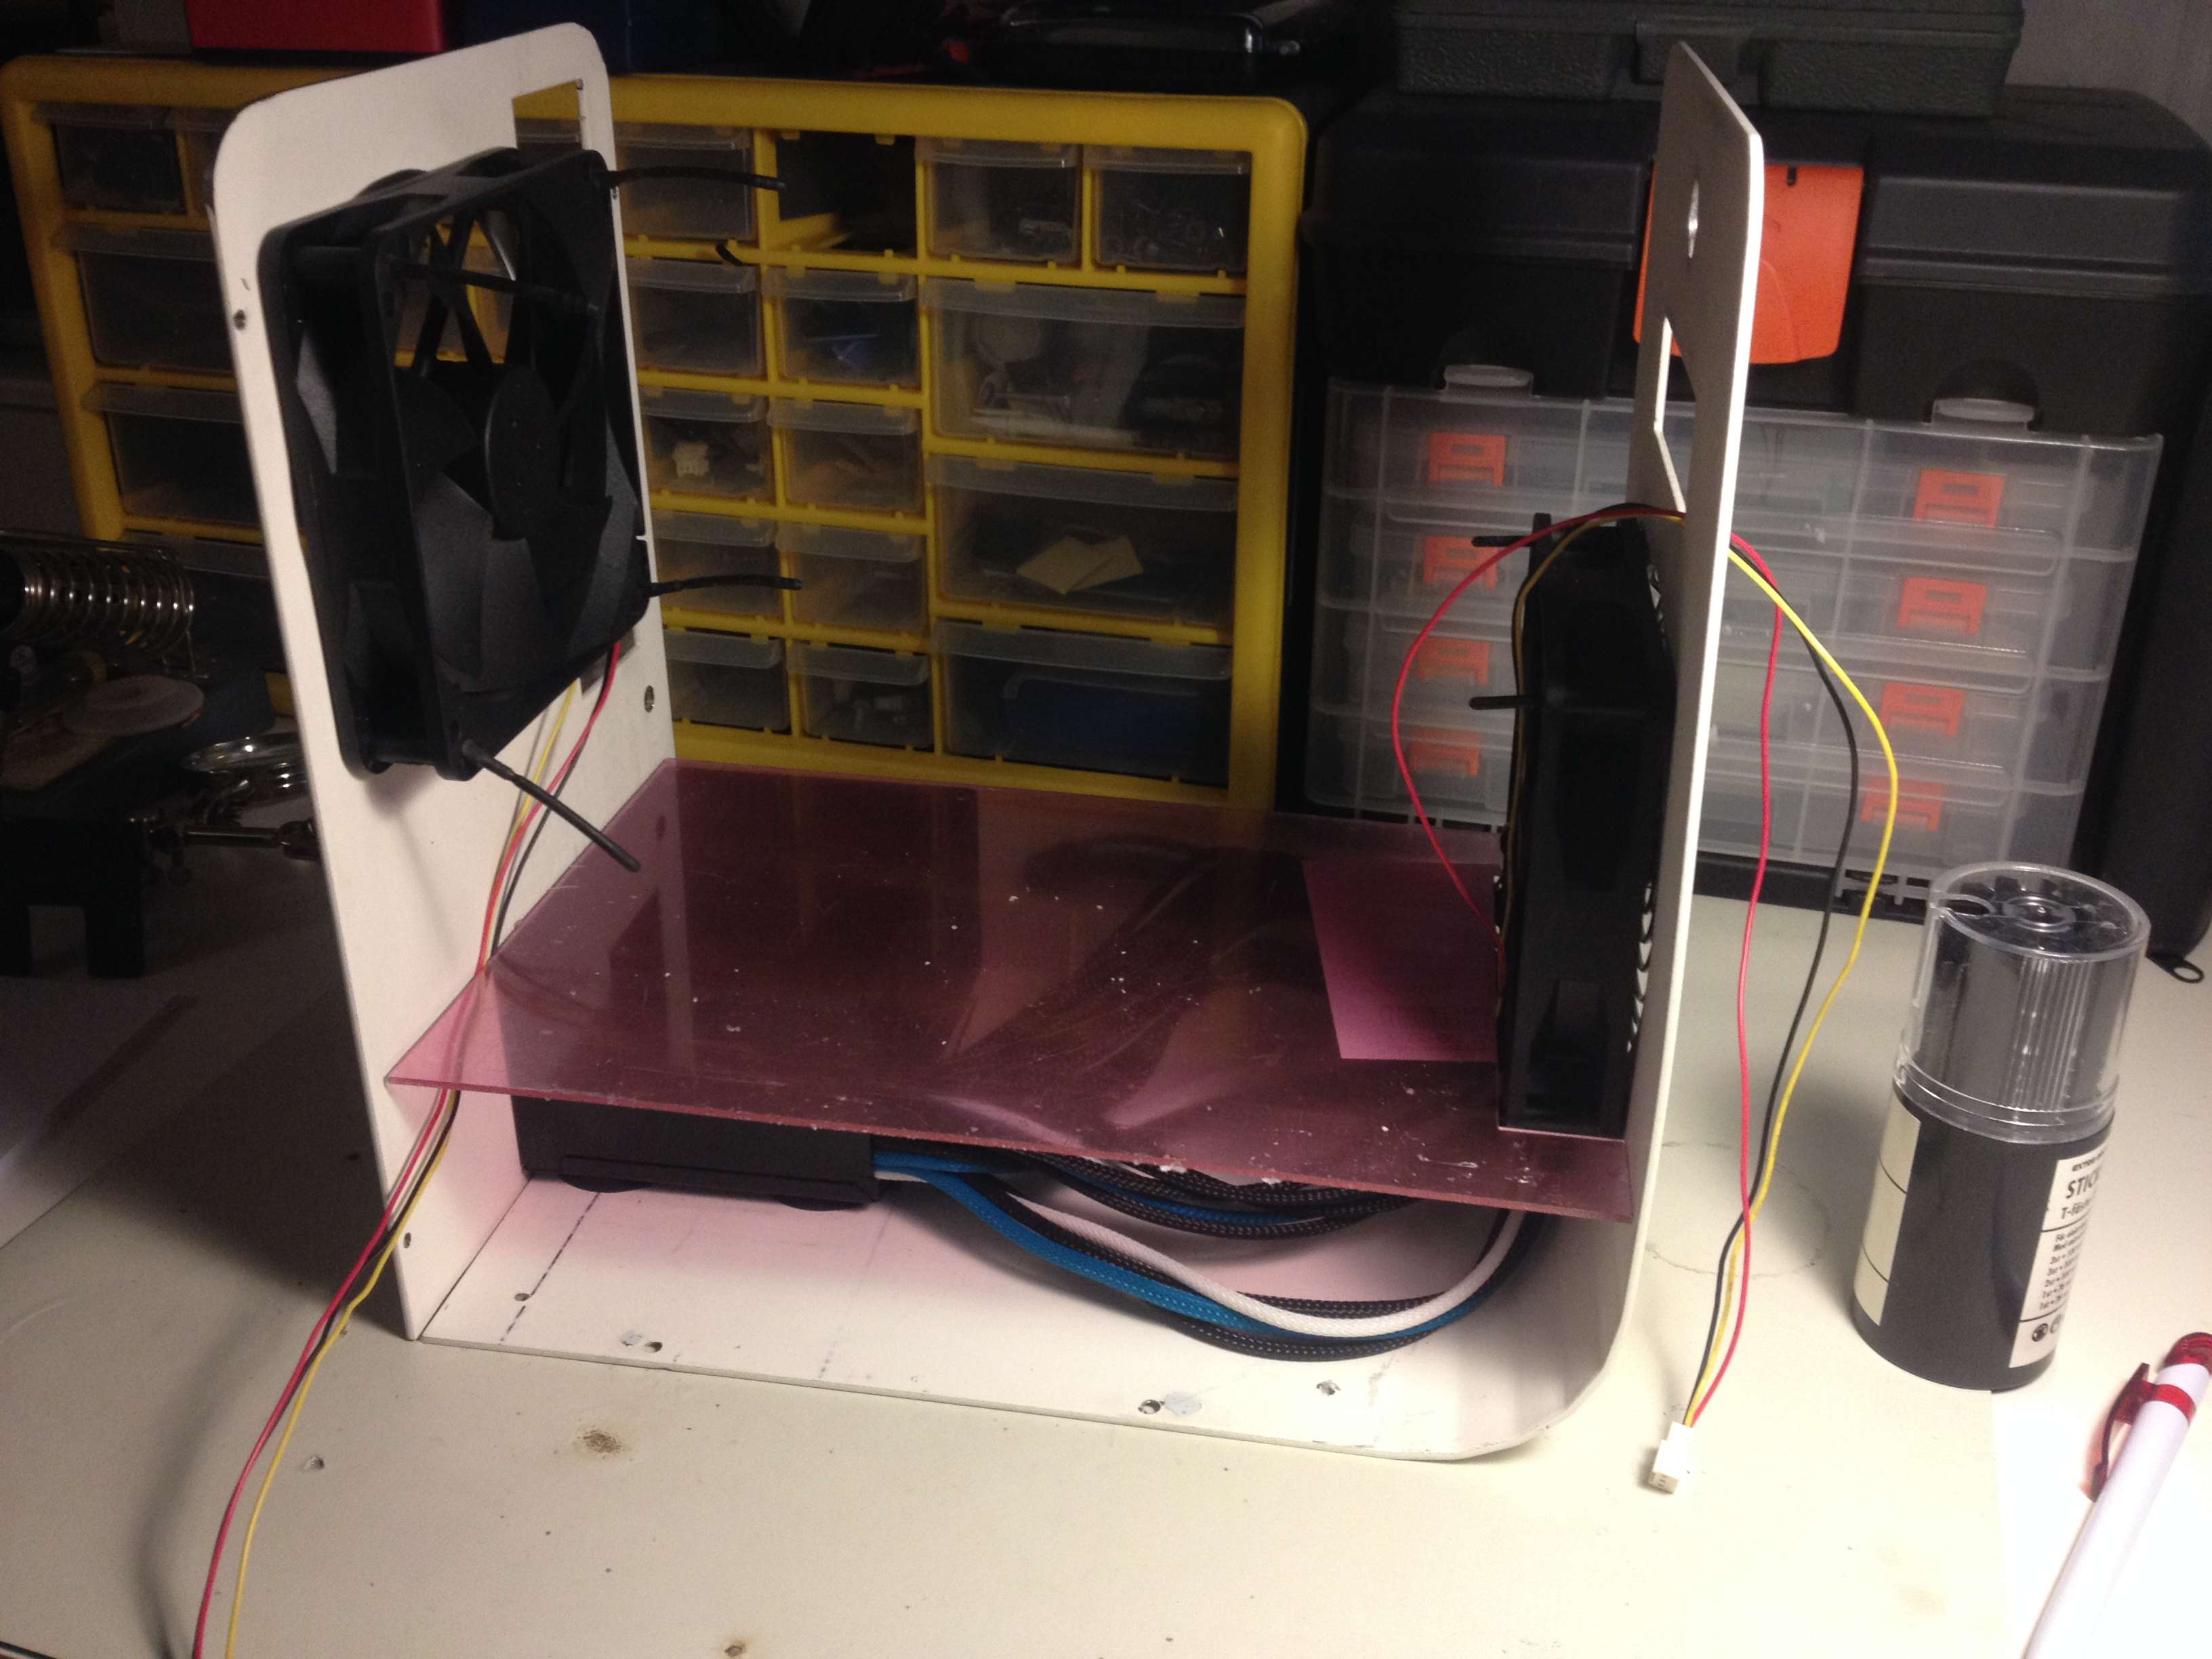
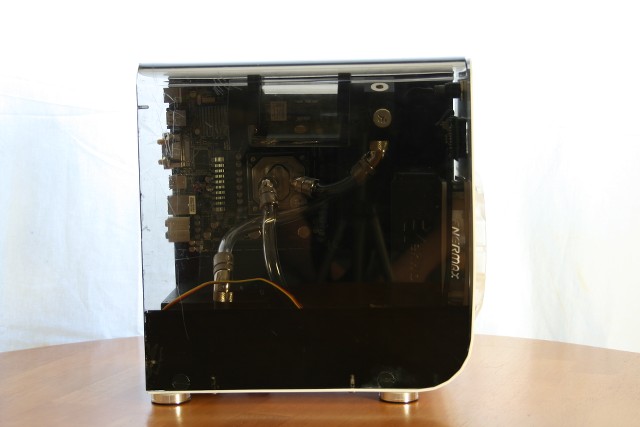
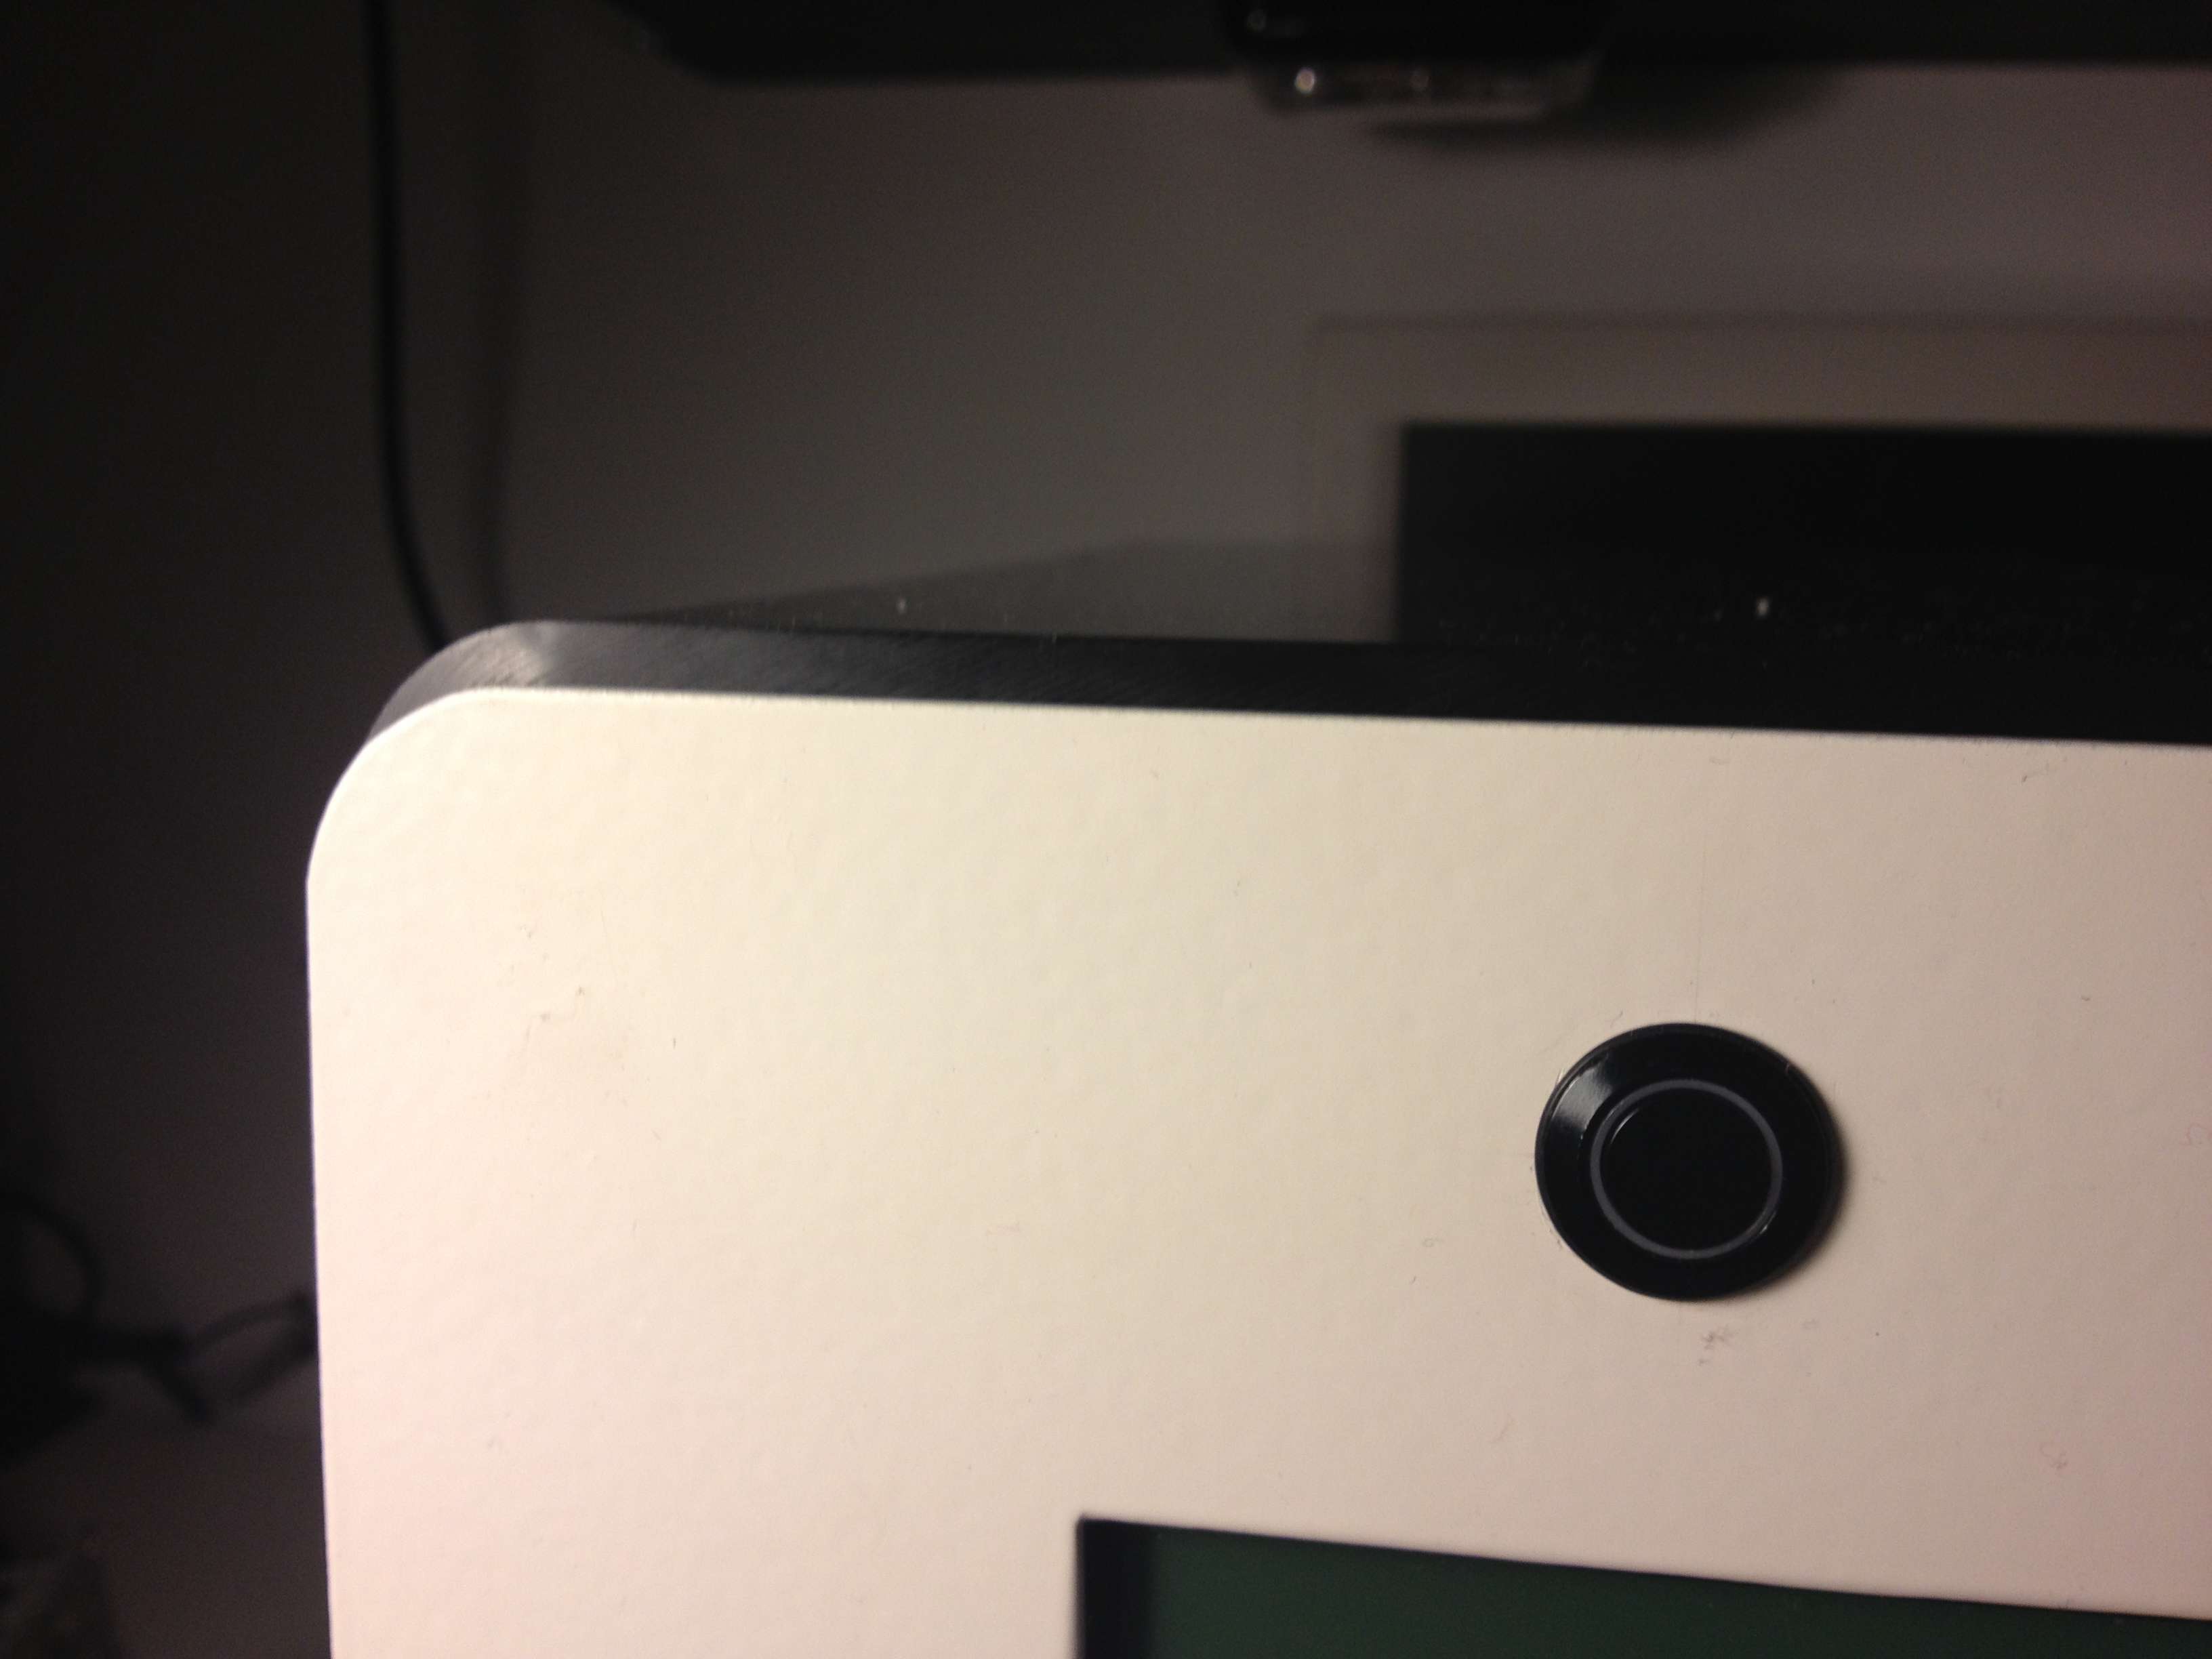
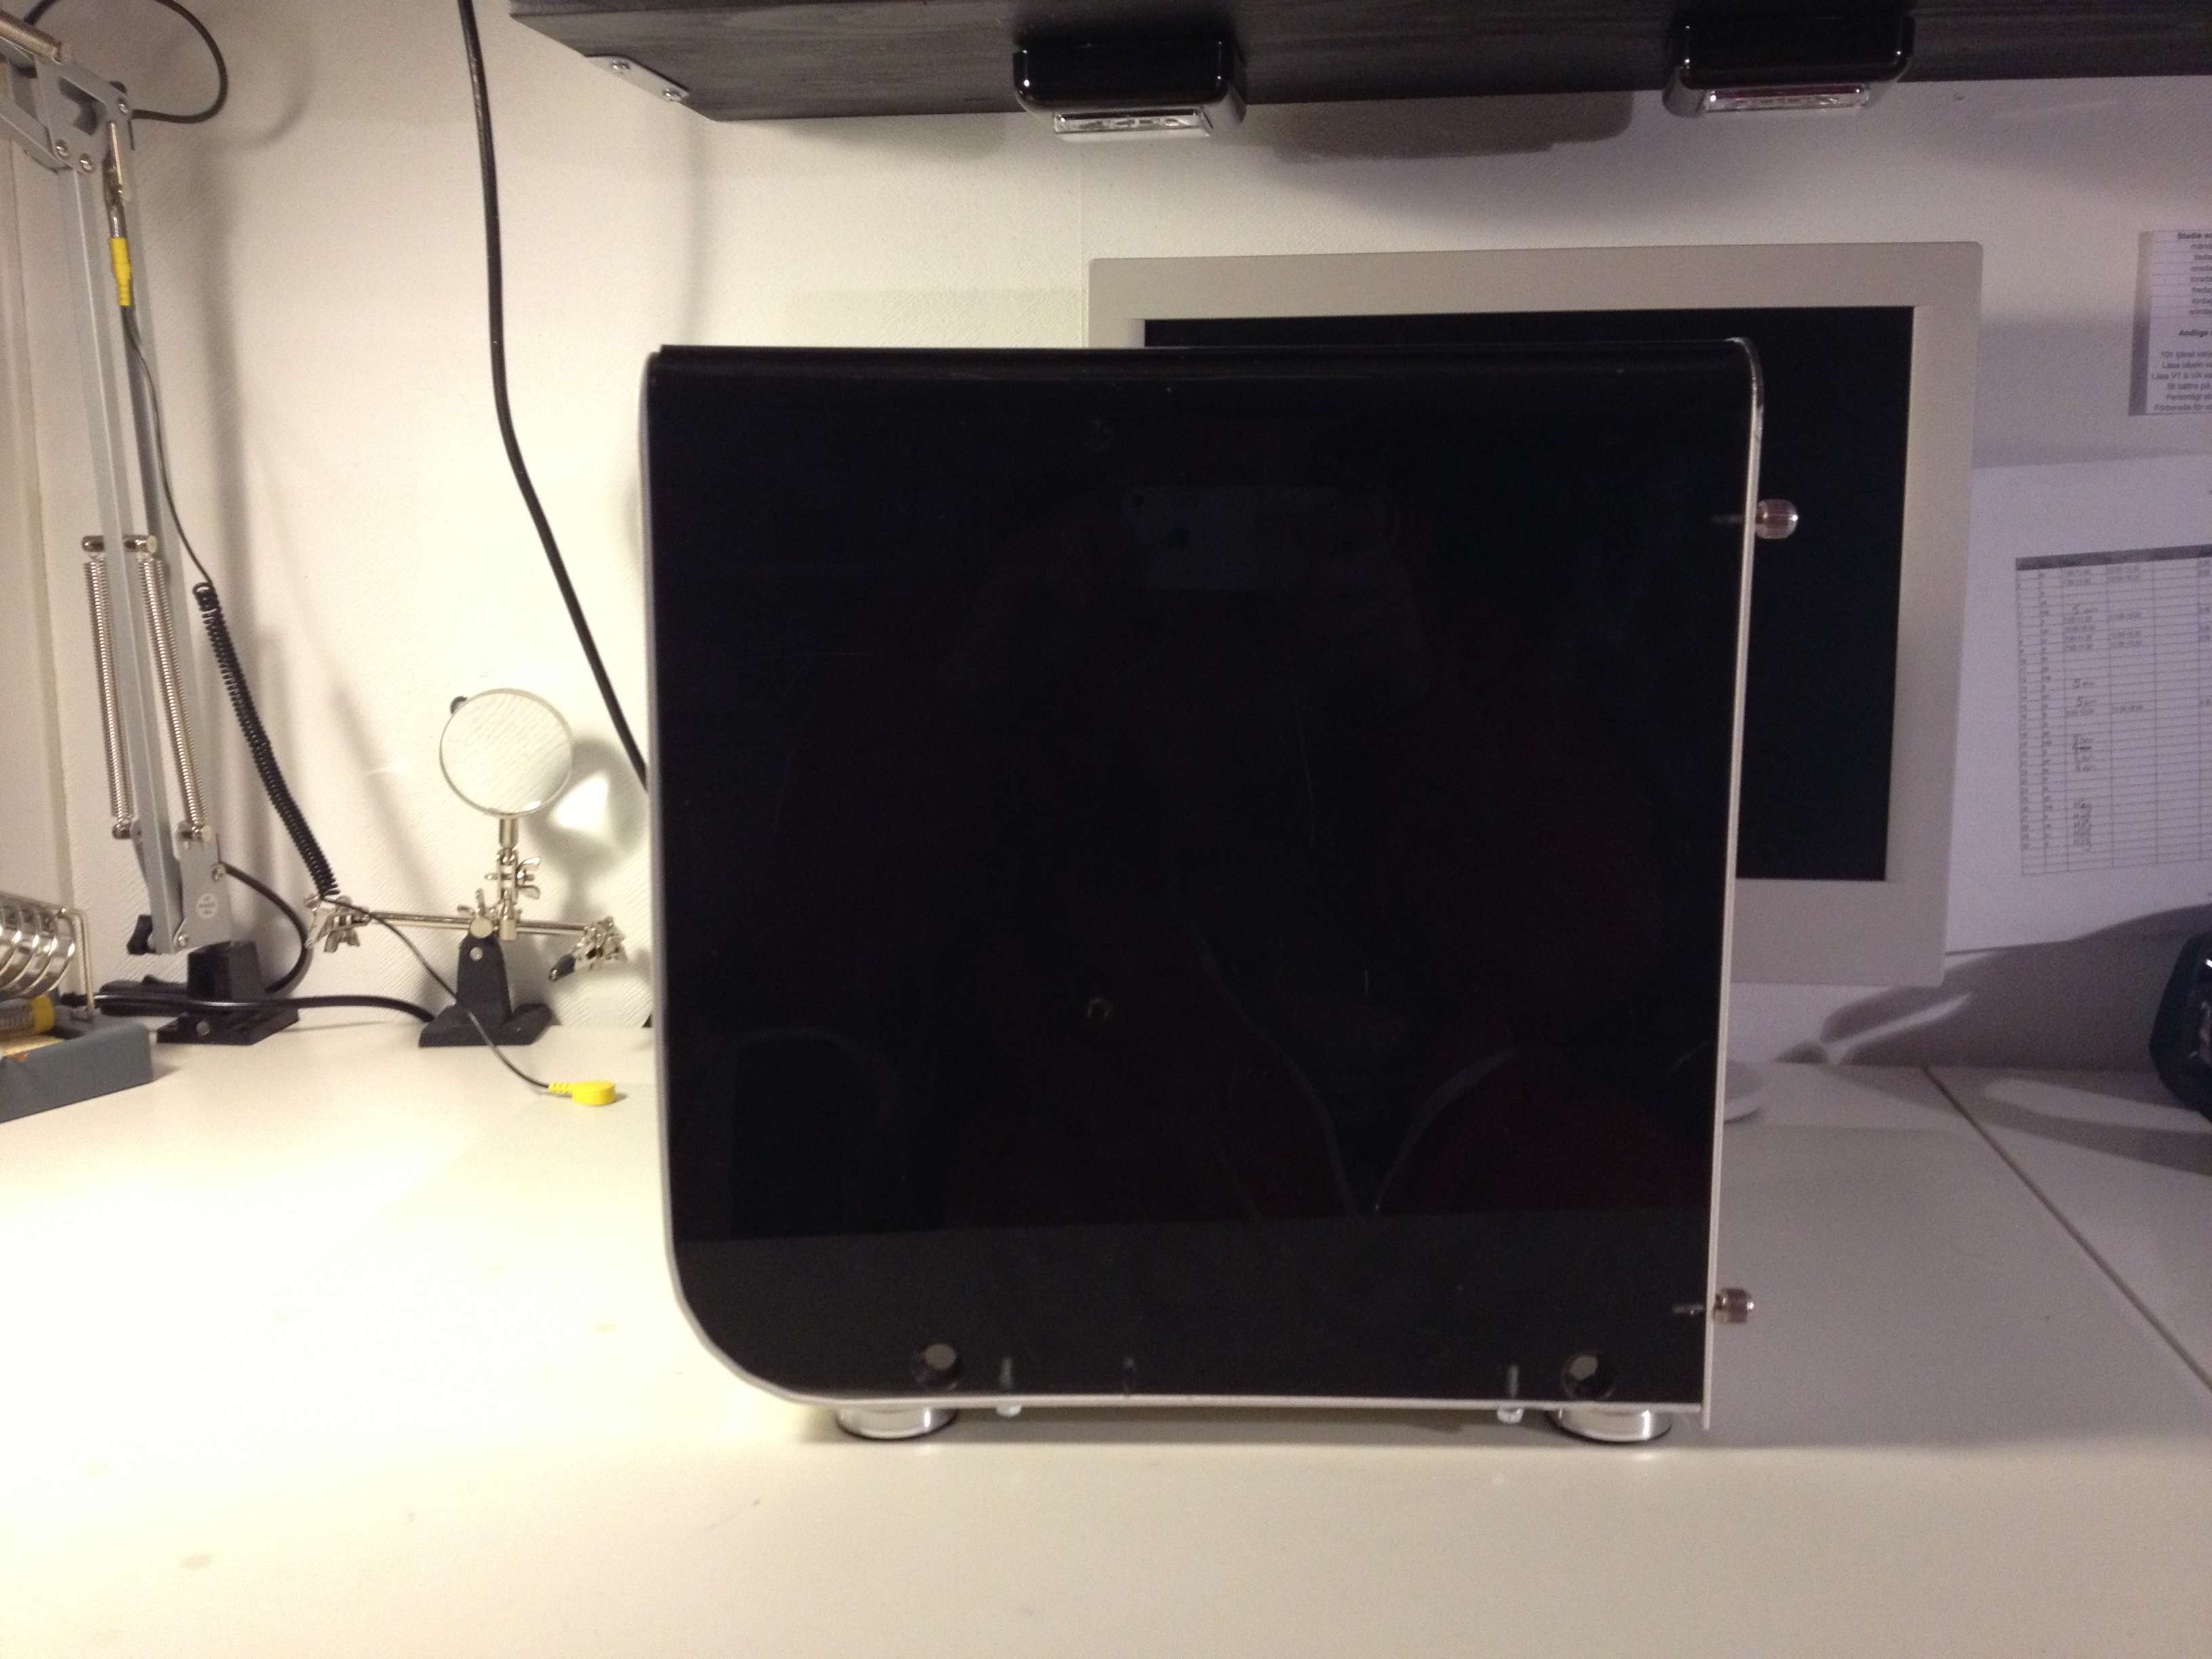
As you see the acrylic is kind of rough, many scratches. So I will start working on that. The acrylic part didnt really fit perfect either as seen on this picture:
So I measured out and cut 4-5mm so it fits better!


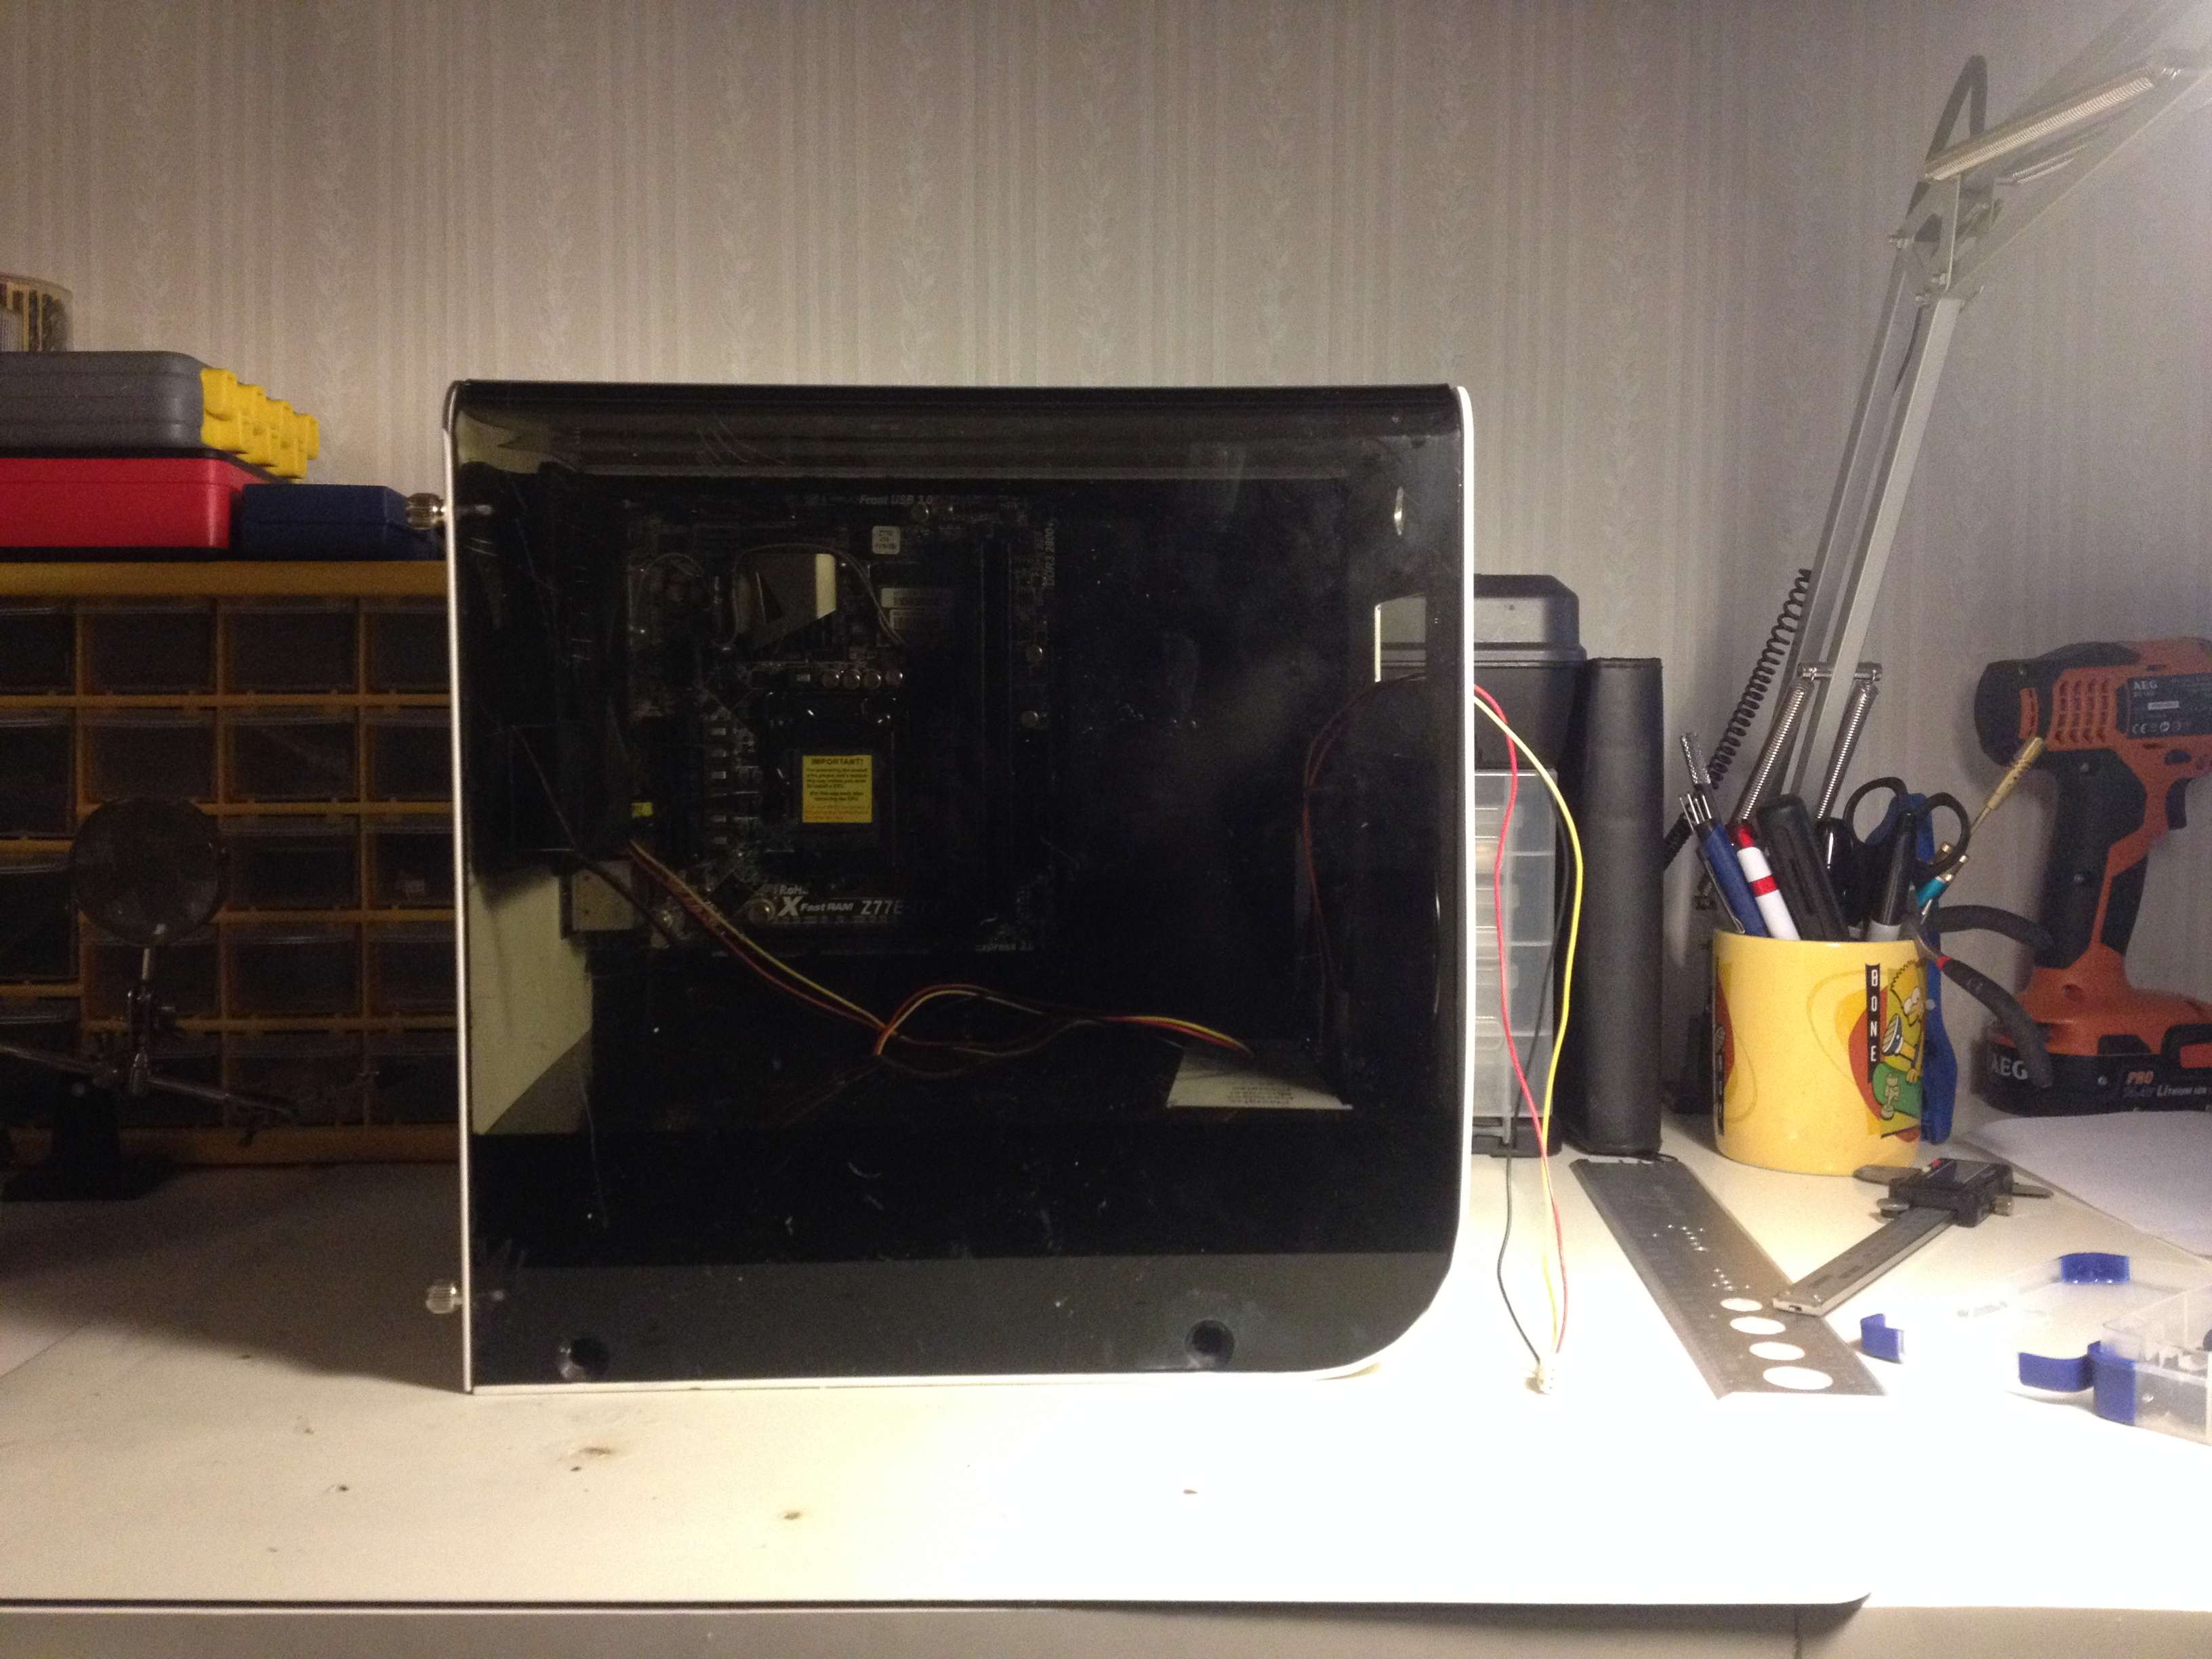
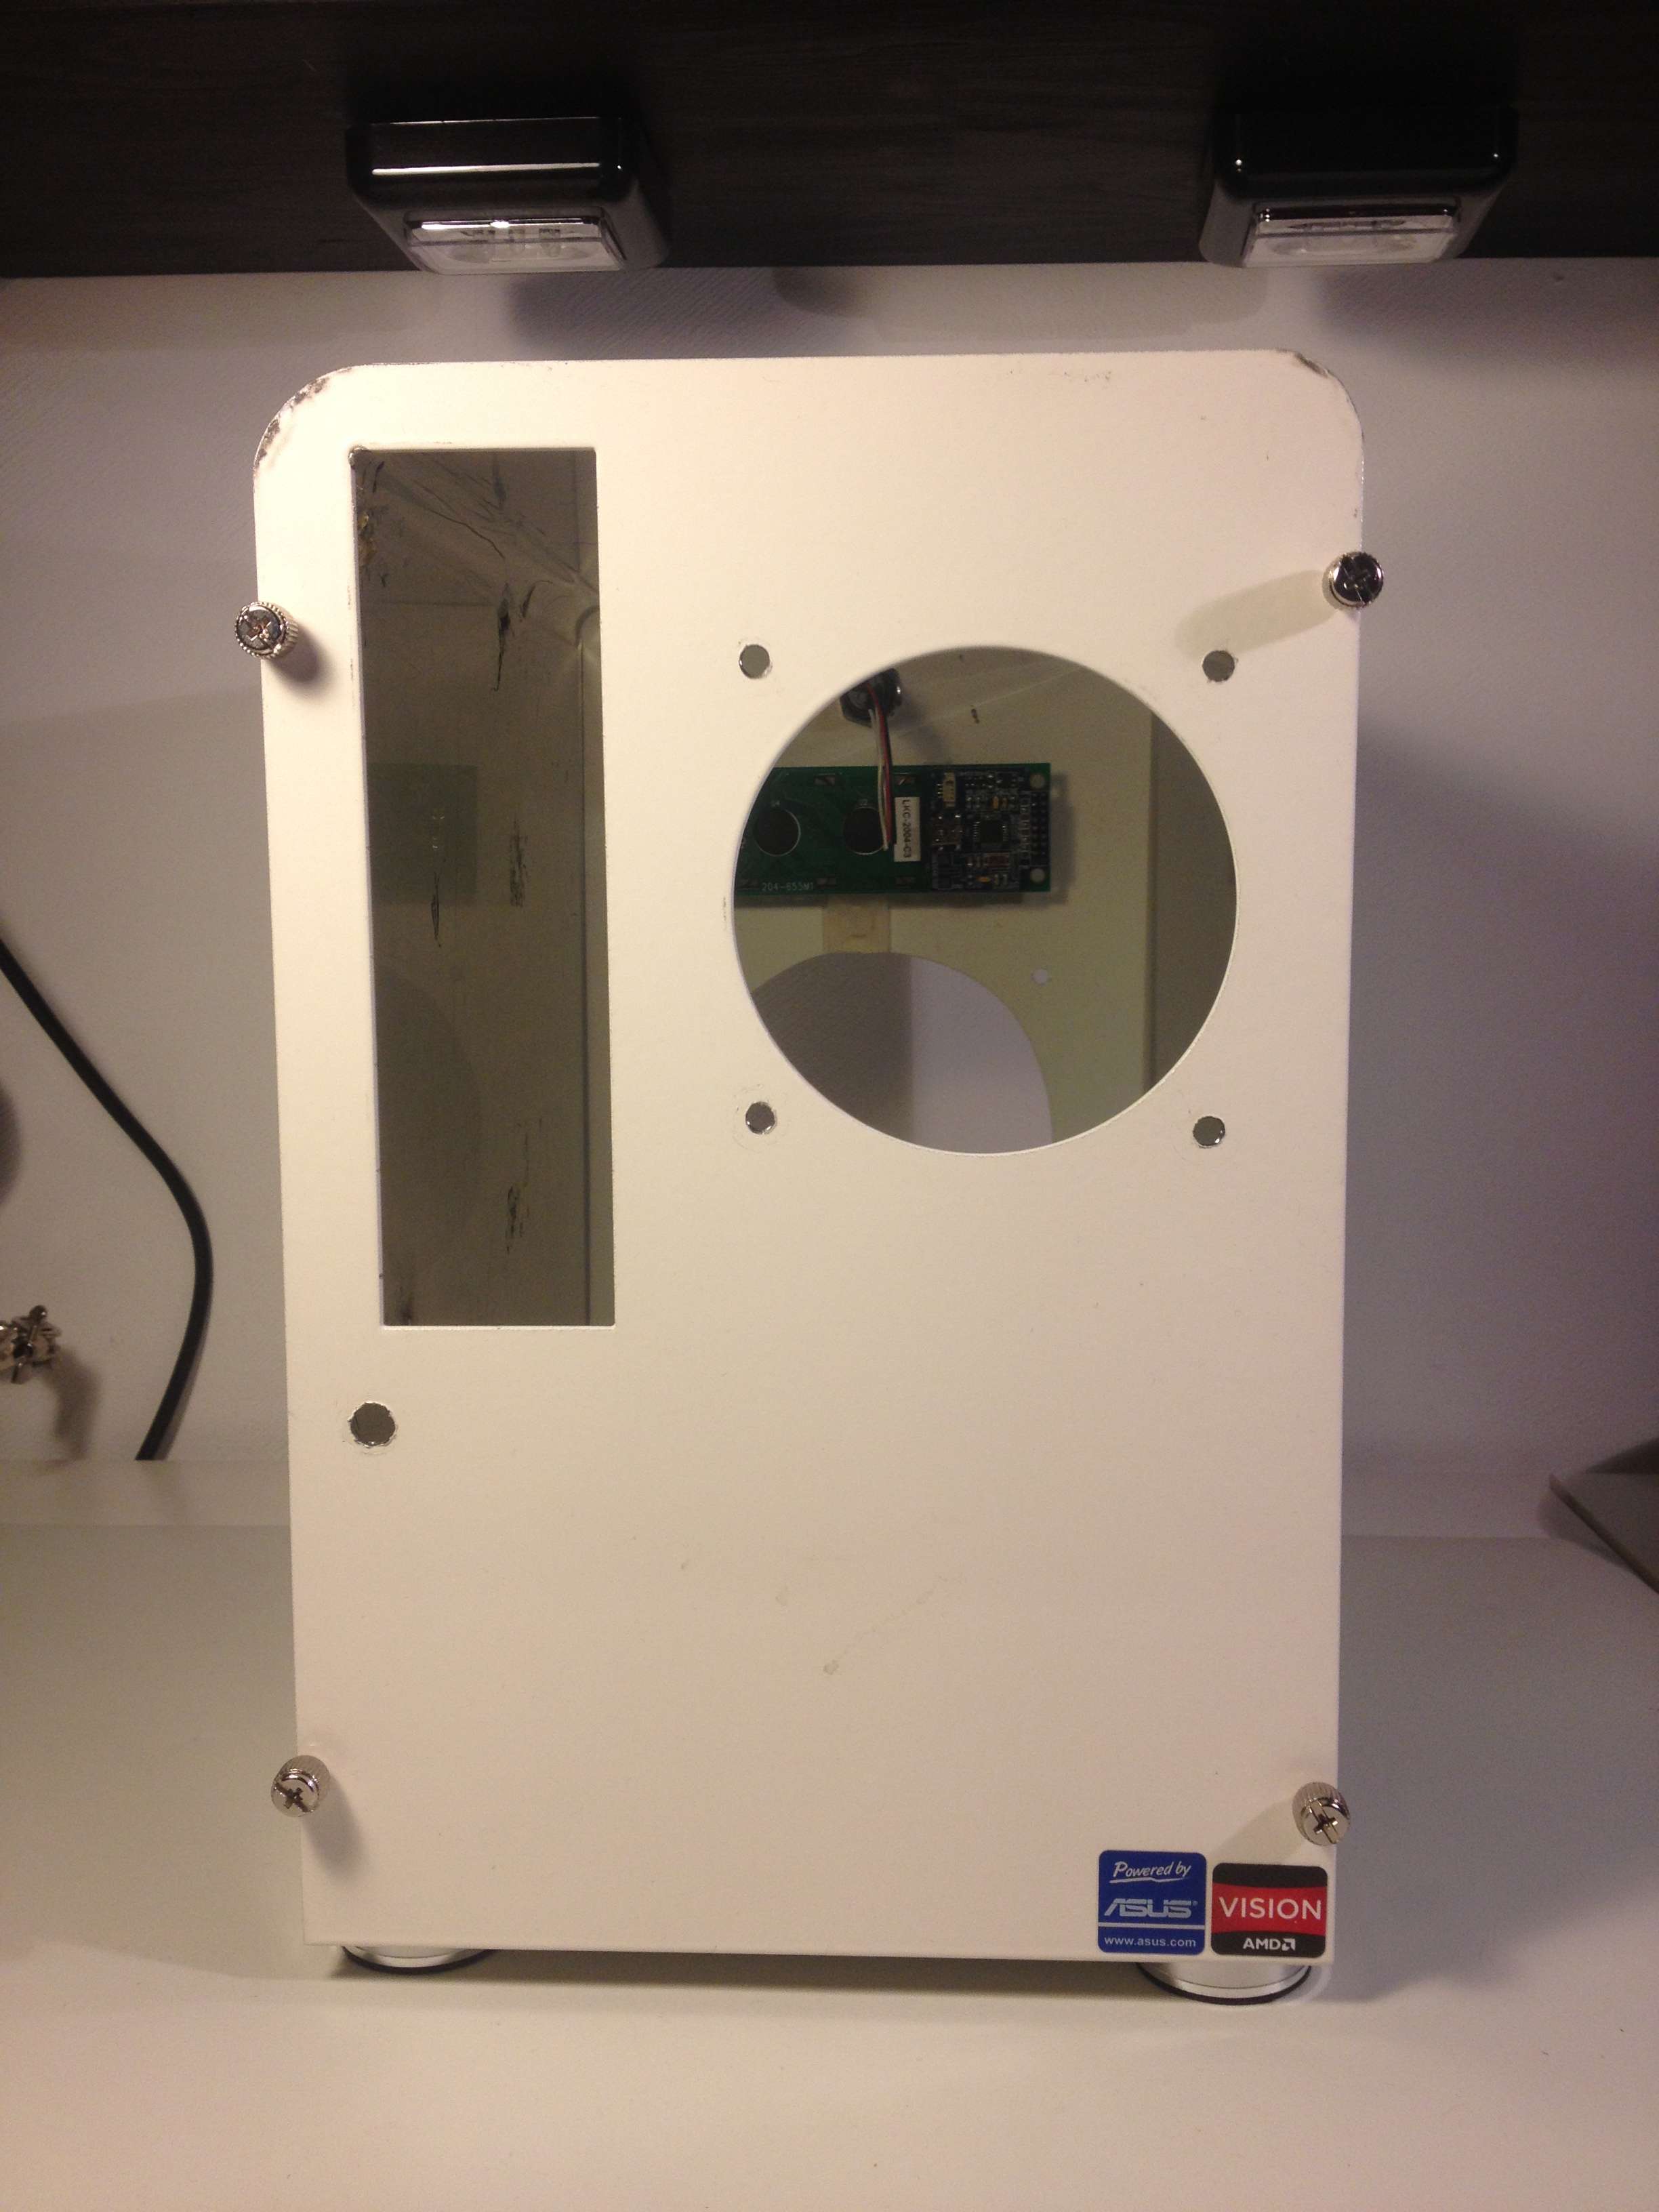
I will install the motherboard on the right side of the acrylic, and because I dont want to show the backside of the motherboard through the acrylic I gave it some black paint!


Im currently planning on what kind of hardware and other stuff I will use in this project. The next thing I will do is to cut out a hole in the backpanel for the powersupply and start working on a shroud over the bottom part of the case.
Thank you for checking in! Please leave a comment.
With king regards
Johan Nyman
Minimalistic PC's
My name is Johan Nyman, Im 21 years old and living in Sweden. I recently finished two mods, CURV3D and F4DE, one scratchbuild and one casemod. So now Im going to work on a older scratchbuild that I want to upgrade and also fix the small mistakes I did before. And I want to share this build at this forum!
This time I will also add a custom watercooling loop and other goodies.
Well lets start by some pictures of the parts of the case that I have to work with right now.
It consists of the parts, the frontpanel, the sides and the backpanel. All together it creates a nice shaped case.
As you see the acrylic is kind of rough, many scratches. So I will start working on that. The acrylic part didnt really fit perfect either as seen on this picture:
So I measured out and cut 4-5mm so it fits better!
I will install the motherboard on the right side of the acrylic, and because I dont want to show the backside of the motherboard through the acrylic I gave it some black paint!
Im currently planning on what kind of hardware and other stuff I will use in this project. The next thing I will do is to cut out a hole in the backpanel for the powersupply and start working on a shroud over the bottom part of the case.
Thank you for checking in! Please leave a comment.
With king regards
Johan Nyman
Minimalistic PC's

")