Project: Corsair Graphite 600T MbK

Status
Not open for further replies.
Update!!!

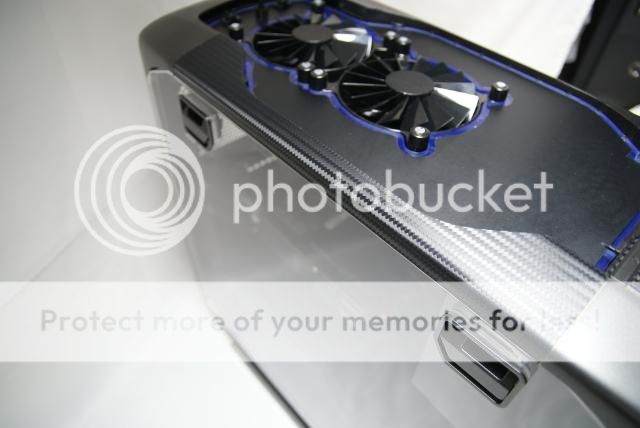
This time I've did some modding for the midplate. bend two angels in a mesh panel.

DSC01213.jpg


DSC01214.jpg


DSC01217.jpg


DSC01218.jpg


DSC01219.jpg


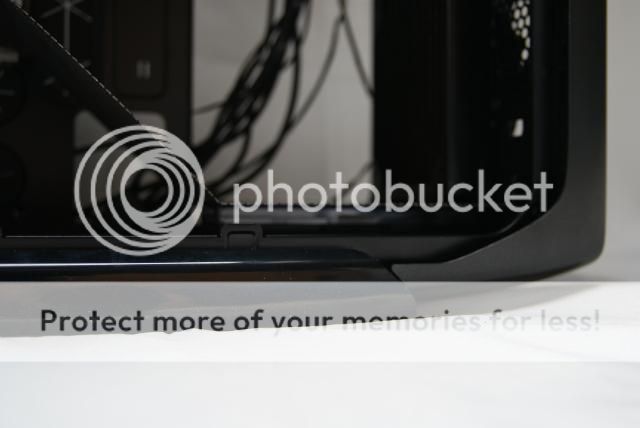
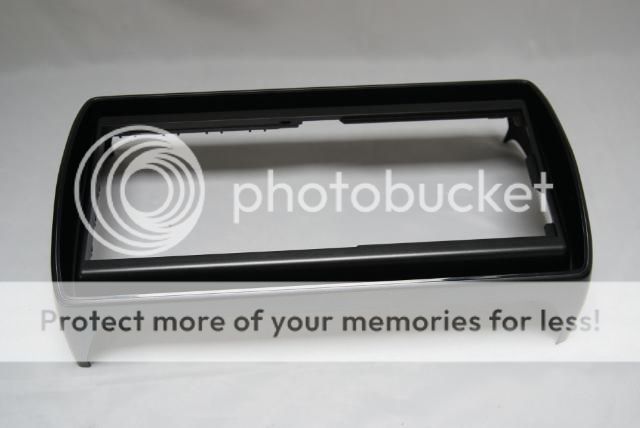
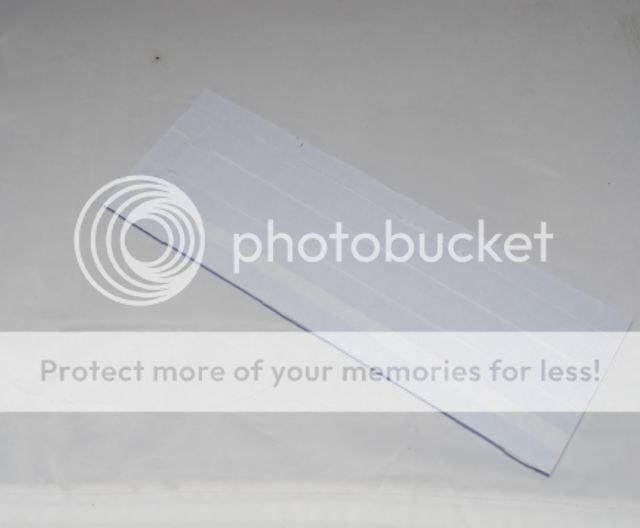
For the side of the midplate I've sawn a piece of 5mm transparant acryl

DSC01207.jpg


DSC01222.jpg


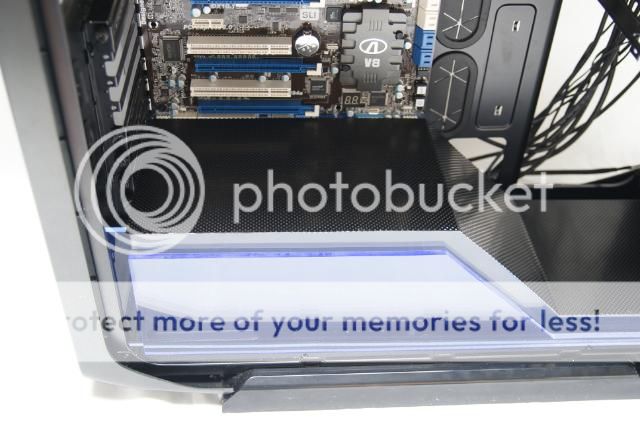
And another piece 5mm blue acryl

DSC01205.jpg


DSC01210.jpg


DSC01225.jpg


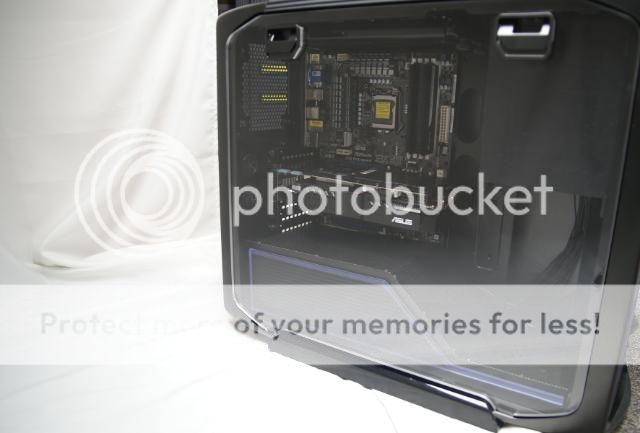
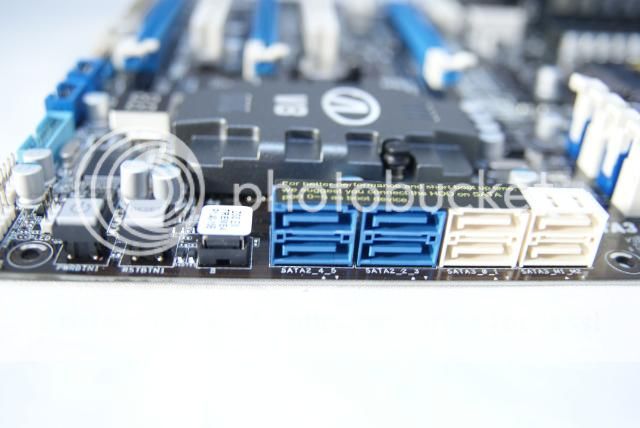
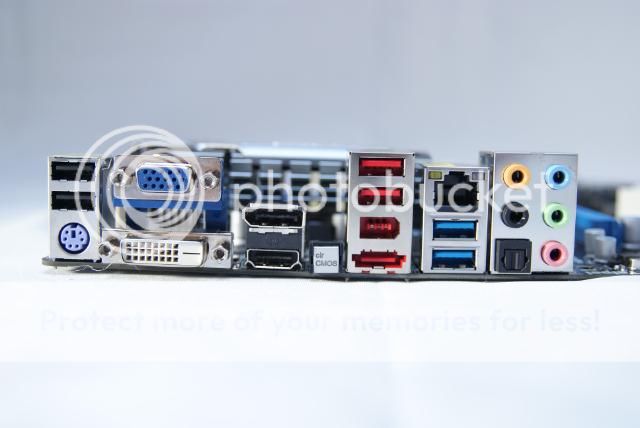
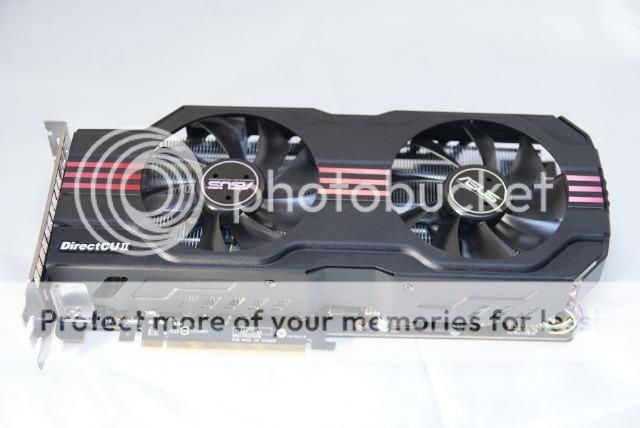
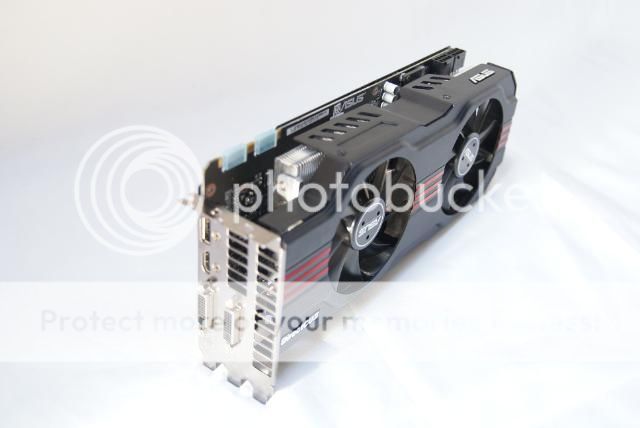
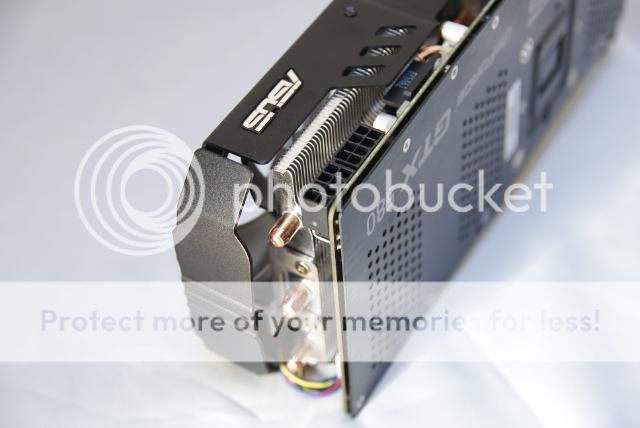
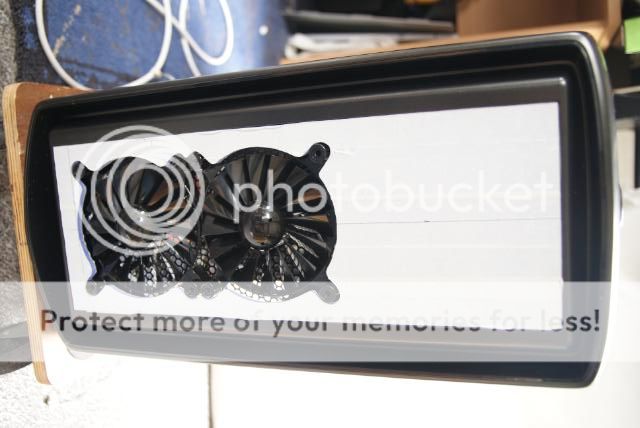
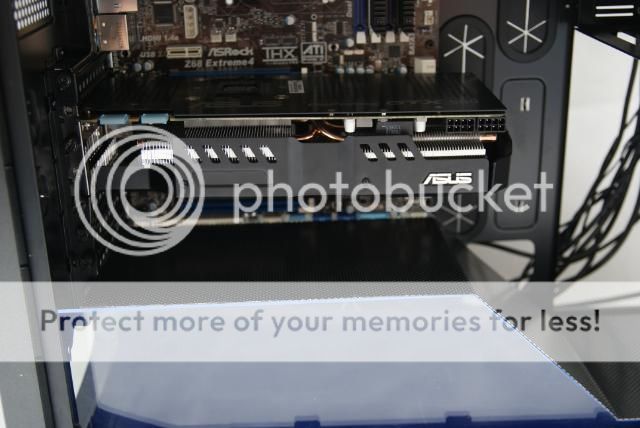
Just two pics of the big big Asus

DSC01232.jpg


DSC01230.jpg


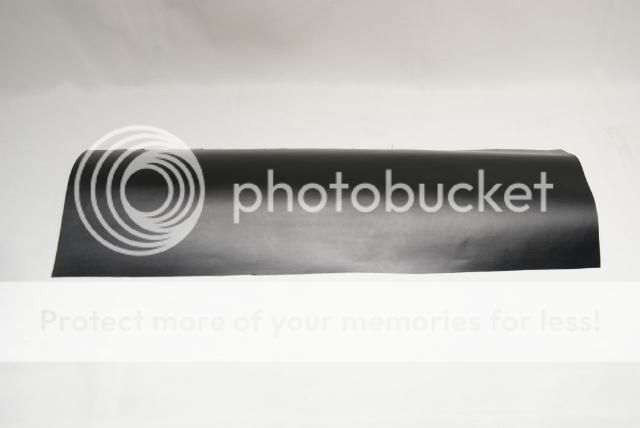
Back to the transaprant acryl, past black film on it
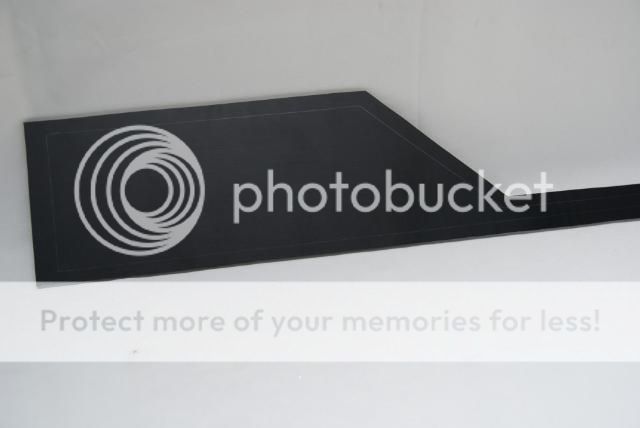
DSC01233.jpg


Cut out the outline

DSC01235.jpg


And past 3m Carbon on the smaller plate

DSC01237.jpg


And put the both together

DSC01239.jpg


DSC01242.jpg


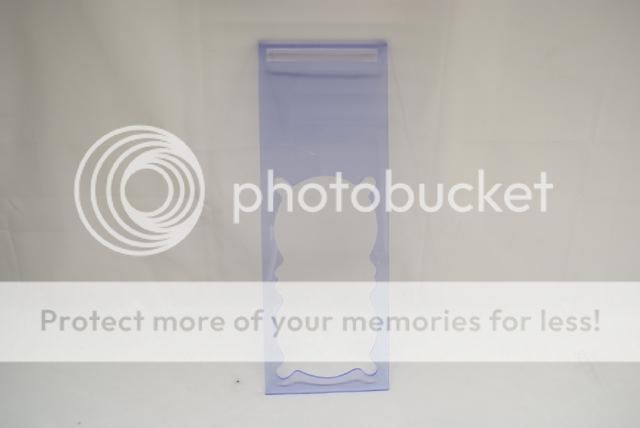
Cut also the outline from the smaller blue acryl

DSC01255.jpg


DSC01258.jpg
 
Also sawn and bend a piece of aluminium for the side from the radiator

DSC01265.jpg


Placed like this

DSC01260.jpg


And the last thing I did is a piece of aluminium for the drive bay side

DSC01266.jpg


All together

DSC01269.jpg


DSC01273.jpg


That's it............see you soon ;)
 
It is looking beautiful, really like the streamline look with the air-flow functionality.

Waiting impatiently for more updates! :big_smile:
 
The case is looking baller. I can see why you are sponsored. Lets hope the PSU fan has enough power and airflow to cool itself properly while being enclosed like that.
 
Update!!!

Today is a great day. Received a really important piece of this build
The Mnpctech 600T clear acryl panel. I always love a window in the sidepanels
So this is the ultimate one :rock:

The package from Mnpctech

DSC01274.jpg


All covered with paper adhesive backing

DSC01275.jpg


12mm thick acrylic

DSC01287.jpg


DSC01286.jpg


To prepare the panel you have to use the original panel latches, but first removed one side
of the adhesive protection

DSC01290.jpg


So the original sidepanel/latch

DSC01279.jpg


There are 4 clips that you need to sqeeze

DSC01282.jpg


DSC01278.jpg


And there out

DSC01283.jpg


Now you take the acrylic sidepanel and put in the top of the latch first

DSC01299.jpg


DSC01301.jpg


Now push and sqeeze the clips in

DSC01293.jpg


DSC01297.jpg


Removed the protection from other side also and there you have it....... a great window for your Corsair Graphite 600T

DSC01306.jpg


DSC01307.jpg


DSC01345.jpg


The quality is really great and all edges are smooth and polished

DSC01309.jpg


DSC01347.jpg


DSC01349.jpg


DSC01350.jpg
 
I received some very nice hardware for this build

DSC00753.jpg


First the great motherboard: The ASRock Z68 Extreme4

DSC00756.jpg


DSC00757.jpg


DSC00762.jpg


DSC00763.jpg


DSC00770.jpg


DSC00758.jpg


DSC00766.jpg


DSC00760.jpg


DSC00761.jpg


DSC00759.jpg


DSC00755.jpg


Two kits Corsair 4 GB DDR3-1600 Kit

DSC00754.jpg


and the beautiful Intel® Core™ i5-2500K

DSC00911.jpg


The big ASUS ENGTX580 DCII/2DIS/1536MD5

DSC00785.jpg


DSC00786.jpg


DSC00788.jpg


DSC00791.jpg


DSC00773.jpg


DSC00775.jpg
 
DSC00778.jpg


DSC00779.jpg


DSC00783.jpg


And a nice Sony Optiarc AD-5260S-0B

DSC00879.jpg


I'm not only showing you good products but have also done some work
The front. I want to give the same looks as the top, with acryl and 2 CM fans.
The plastic front

DSC00869.jpg


Here I have cut away the middle bar

DSC00870.jpg


Sawn a piece of 5mm blue acryl

DSC00872.jpg


DSC00871.jpg


And again the same as the top..........sawn the two fans

DSC00873.jpg


DSC00875.jpg


DSC00878.jpg


Made the slot for the dvd

DSC00880.jpg


DSC00881.jpg


Removed the tape

DSC00889.jpg


DSC00885.jpg


But we're not there yet, transparent is not what I want. That's why I have used black film to make small borders, later on with light

DSC00891.jpg


DSC00892.jpg


DSC00893.jpg


DSC00895.jpg


Paste tape again

DSC00896.jpg
 
Status
Not open for further replies.
Back
Top Bottom