Speaking from personal experience...I've never had a problem with building on a carpet. I've only built a couple of dozen rigs, not as many as some around here but the 7 systems I have in the house I've torn apart and put back together more times than I can count....every single time on the carpet in front of the TV. I've never once had a static problem.
You are using an out of date browser. It may not display this or other websites correctly.
You should upgrade or use an alternative browser.
You should upgrade or use an alternative browser.
Its my first time and im nervous
- Thread starter Final Destiny
- Start date
- Status
- Not open for further replies.
overlord20
Fully Optimized
- Messages
- 2,308
- Location
- spokomptan
It takes months to figure stuff out sometimes... That is the only thing I must say... I right now either have a short connection with mobo and case or a bent pin and i have had it for 5 months... Haven't had time to start it up out of the case though.
Drizzt
Fully Optimized
- Messages
- 3,187
- Location
- Somewhere inbetween FL and NY
The hardest parts IMO are:
1) The rear IO shield - usually this is a tinny piece of junk that makes motherboard installation a PITA
2) The front panel pins - fiddly and annoying depending on the case and mobo
Parts that are tricky first time only
1) Getting the spacers in the correct holes - depends on the case, motherboard etc
2) Getting the correct amount of TIM onto the CPU - I put a blob about the size of a pea in the middle of the CPU and let the pressure from the heatsink base spread it out, different people do this different ways
3) Heatsink installation (particularly on 775) - it should be a tight fit which can make it can be a bit fiddly and unnerving
I don't know about all ASUS mobo's, but I know every Asus mobo I've used has had a REALLY nice IO shield with cushioning and it's sexy black colored with a silver rim. It makes it just a tad bit easier to install

And yea, heatsink installation and TIM can be ... puzzling at first. But some heatsinks are easier then others... I know the Tuniq Tower in small cases was HARDDDDDDD to install the first time, but then you got the hang of it after a bit
") .
. Just throwing it out there that sometimes you can make it easier on yourself when you buy different brands.
apsoul
In Runtime
- Messages
- 248
- Location
- Pennsylvania, USA
I'm currently planning my first "build" however I have taken all of my parents and my own computers apart and put them together a bunch of times and it is rather simple. Most things are labeled or they can only fit where they are supposed to go. Also if you are buying new components(as opposed to used), you will get manuals. Basically i say that it is easy because the way that I got into hardware was by taking my parents 1st 2 computers apart (they were both broken when i dismantled them) just to look at what was inside. When I put them back together, the one of them worked! (this was all done while sitting on a rug, and setting the pieces on the rug)
Generally speaking, you can do it. Might be a little foreign at first, but the more you do it, the more comfortable you are, and the better you get.
Generally speaking, you can do it. Might be a little foreign at first, but the more you do it, the more comfortable you are, and the better you get.
DON'T BAN ME Please! There is a 10 Picture per post limit!
here is a step by step picture tutorial
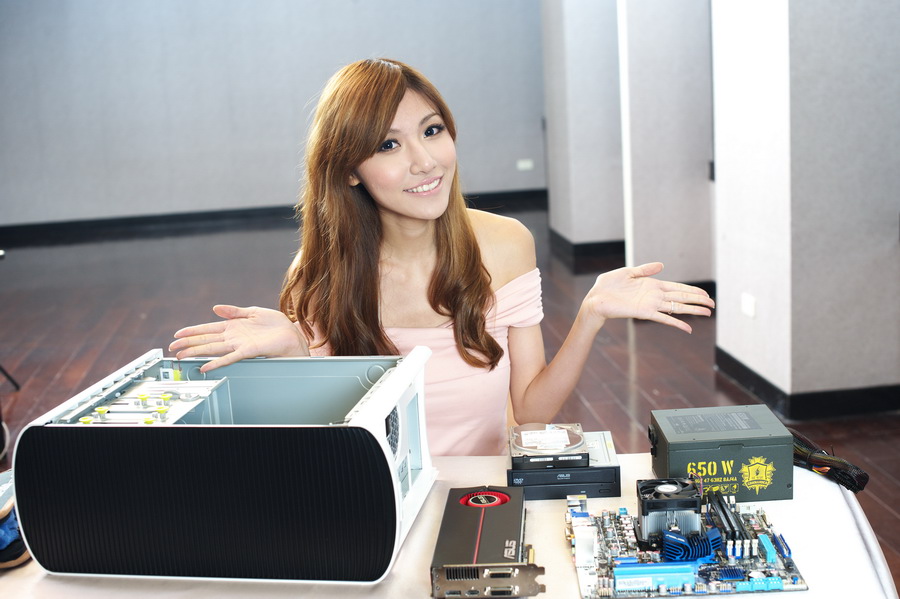
pick out the parts you want to buy


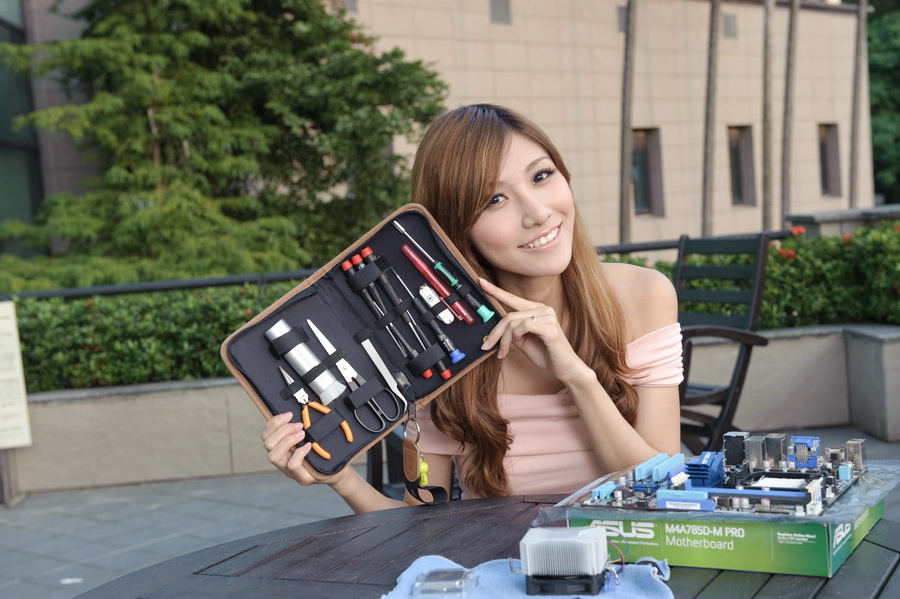
lets start by getting your **** together

then bust out the tool kit
be careful when inserting the CPU, don't bend any pins or else....
just drop it in and it'll fit snug

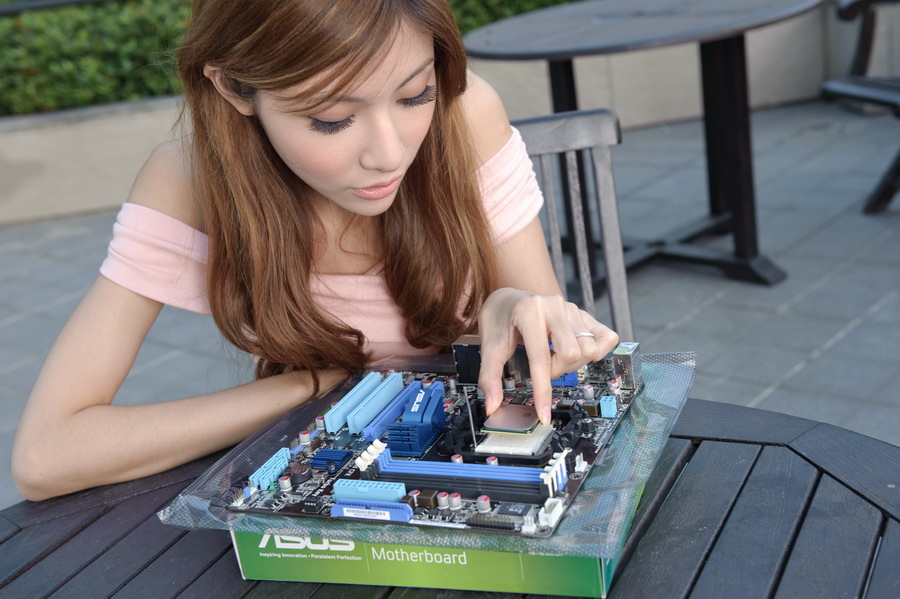
now, don't forget to lock it into place


here is a step by step picture tutorial
pick out the parts you want to buy
lets start by getting your **** together
then bust out the tool kit
be careful when inserting the CPU, don't bend any pins or else....
just drop it in and it'll fit snug
now, don't forget to lock it into place
DON'T BAN ME Please! There is a 10 Picture per post limit!
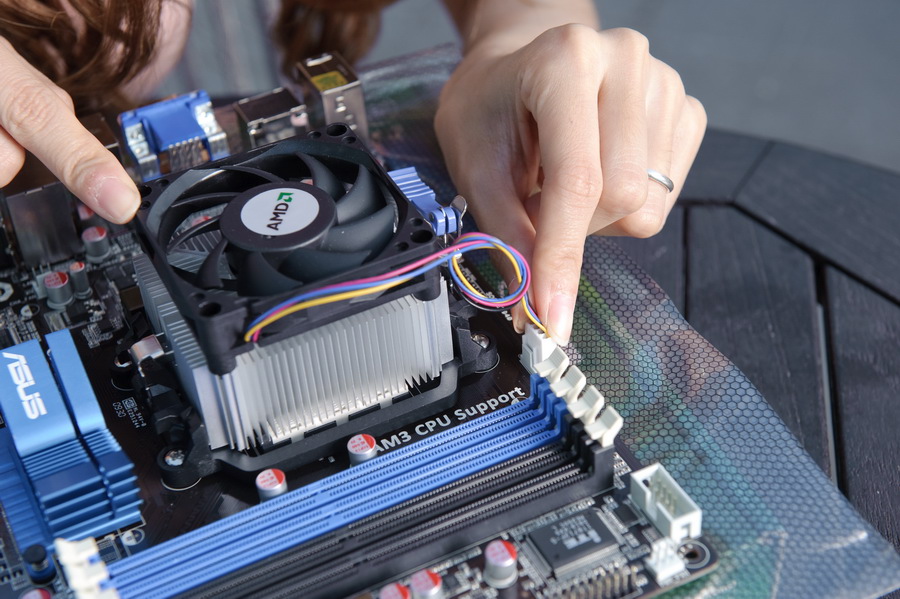
the heatsink is just as important

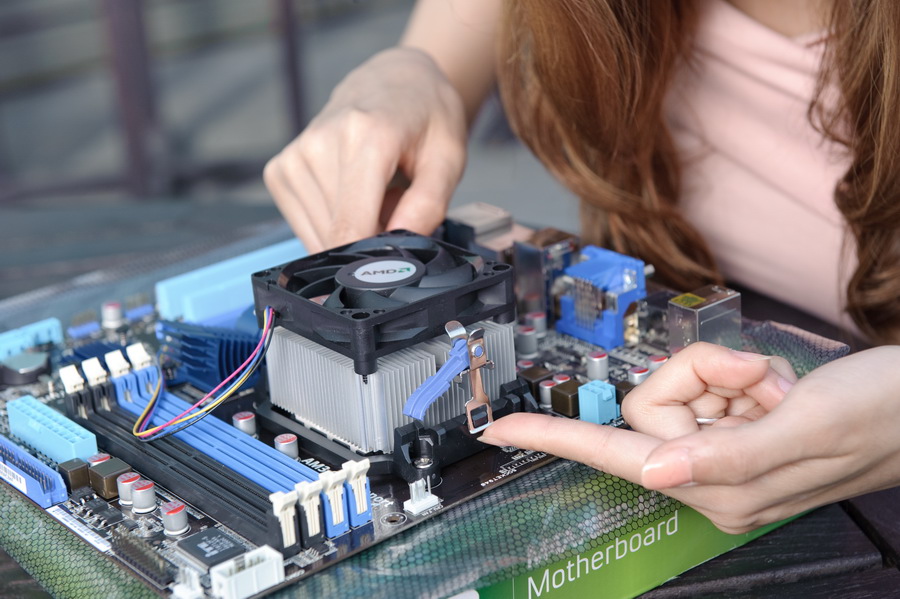

do not forget to plug in the power for that heatsink fan
time to install the memory

first open up those white tabs on the side
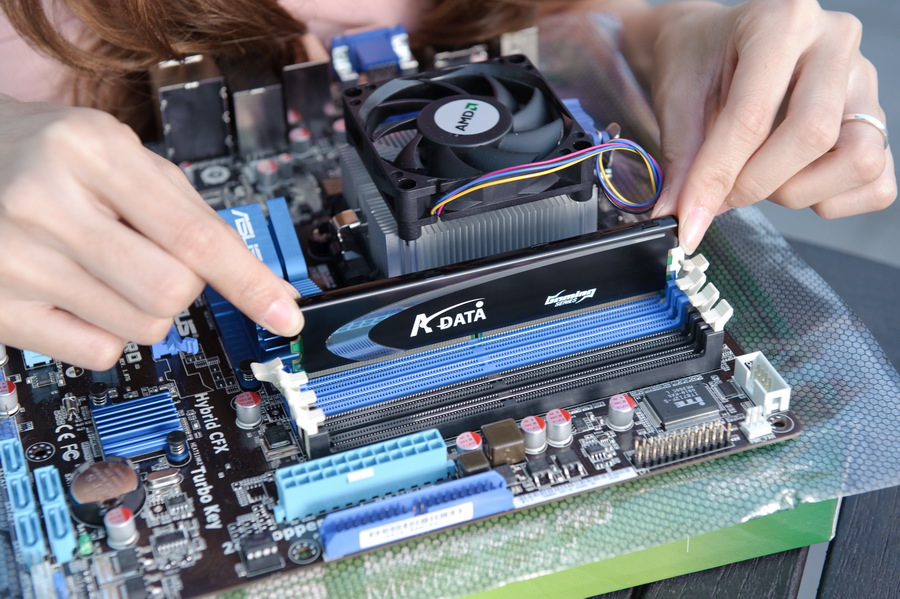
now line up the socket

lastly push it down, and those white tabs should lock the module into place

now the case

again, have everything ready
the heatsink is just as important
do not forget to plug in the power for that heatsink fan
time to install the memory
first open up those white tabs on the side
now line up the socket
lastly push it down, and those white tabs should lock the module into place
now the case
again, have everything ready
DON'T BAN ME Please! There is a 10 Picture per post limit!
your case will vary when installing a optical drive, but for this tutorial purpose, I will include pictures

your case will vary when installing hard drive
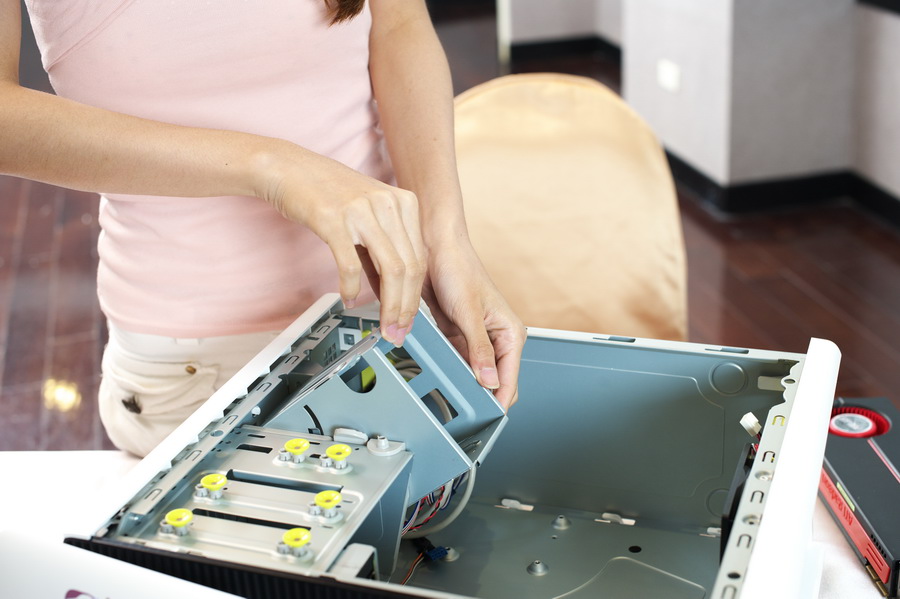


and power supply

now motherboard, do not forget the brass stand-offs


plug in those connectors, front audio, usb, power and reset

now the gamer's delight, video card

just line it up and pop it in

your case will vary when installing a optical drive, but for this tutorial purpose, I will include pictures
your case will vary when installing hard drive
and power supply
now motherboard, do not forget the brass stand-offs
plug in those connectors, front audio, usb, power and reset
now the gamer's delight, video card
just line it up and pop it in
DON'T BAN ME Please! There is a 10 Picture per post limit!
don't forget to plug in those power connectors
24 pin for motherboard
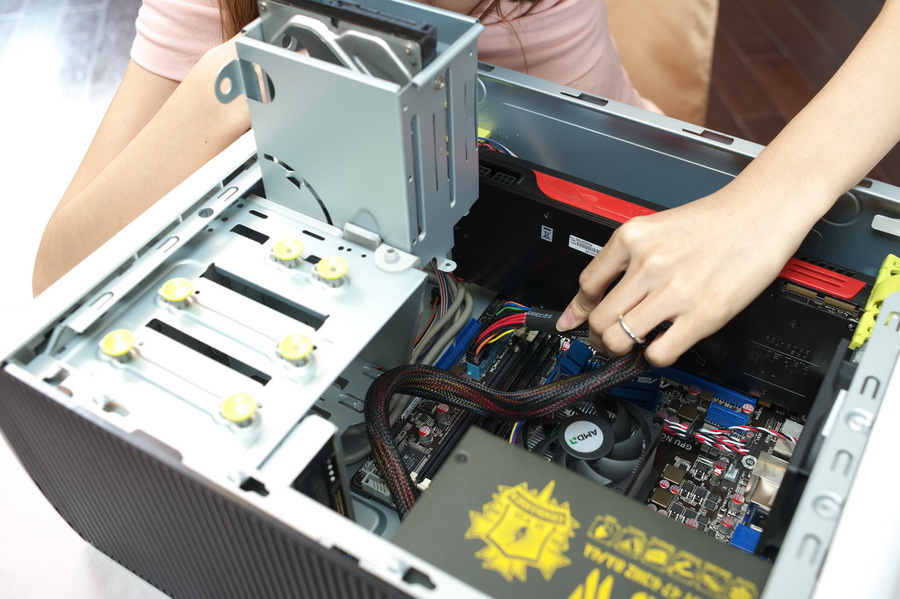
6 pin or 8 pin for video card

optical + hard drives

4 or 8 pin for cpu

operation complete, now close her up


the monitor

connector the power and dvi/vga cable


don't forget to plug in those power connectors
24 pin for motherboard
6 pin or 8 pin for video card
optical + hard drives
4 or 8 pin for cpu
operation complete, now close her up
the monitor
connector the power and dvi/vga cable


- Status
- Not open for further replies.
Similar threads
- Replies
- 5
- Views
- 1K
- Replies
- 3
- Views
- 1K
- Replies
- 17
- Views
- 3K
- Replies
- 7
- Views
- 2K