You are using an out of date browser. It may not display this or other websites correctly.
You should upgrade or use an alternative browser.
You should upgrade or use an alternative browser.
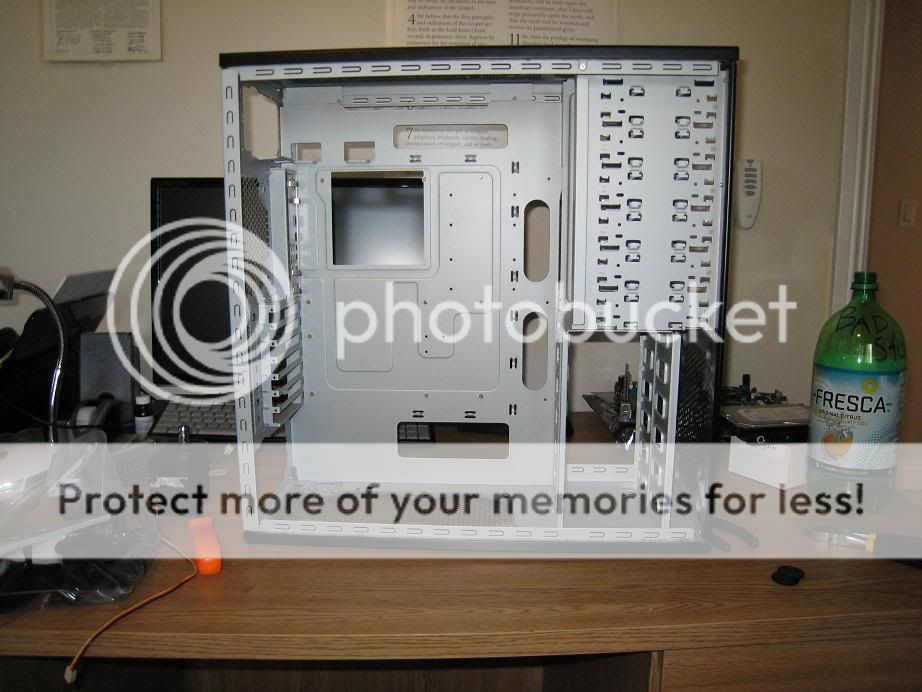
Modding my HAF
- Thread starter Burn
- Start date
- Status
- Not open for further replies.


You missed it.are you going to put some mesh or something over the hole?
http://www.techist.com/forums/f10/modding-my-haf-215543/#post1708526
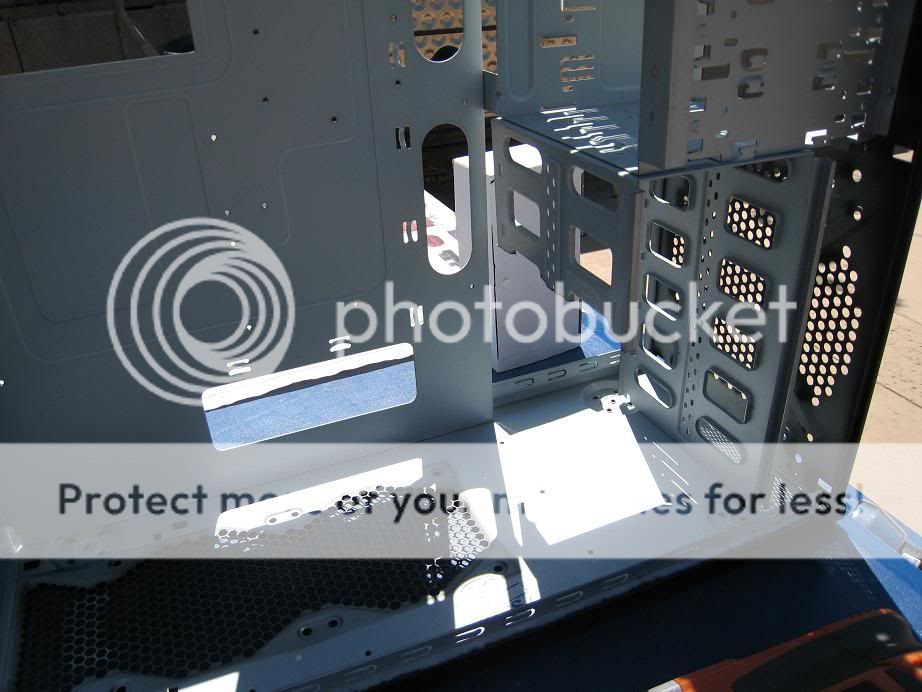
yup. the fan grill is going to go there. smart me i forgot to drill the fan holes before i painted... great...
also, i painted the drive holders and put them on (but broke one of them in the process lol )
)

edit: @myowngod: i dont think your psu will allow the mod im doing... the tx750 is a bit shorter than the 1000hx. before i started this mod when i measured everything i realized i would only have about 1 or 2cm between my psu and rad... so the 1000hx may not be short enough. dunno though, it may work.
also, i painted the drive holders and put them on (but broke one of them in the process lol
)
edit: @myowngod: i dont think your psu will allow the mod im doing... the tx750 is a bit shorter than the 1000hx. before i started this mod when i measured everything i realized i would only have about 1 or 2cm between my psu and rad... so the 1000hx may not be short enough. dunno though, it may work.
myowngod
In Runtime
- Messages
- 286
yup. the fan grill is going to go there. smart me i forgot to drill the fan holes before i painted... great...
also, i painted the drive holders and put them on (but broke one of them in the process lol
edit: @myowngod: i dont think your psu will allow the mod im doing... the tx750 is a bit shorter than the 1000hx. before i started this mod when i measured everything i realized i would only have about 1 or 2cm between my psu and rad... so the 1000hx may not be short enough. dunno though, it may work.
It is too long, but if I cut the front part of the HDD cage as well and swap the big fan for a high flowing 120mm it will work
silver holders look good, i take it the rest of them weren't as difficult as the one that broke? didn't see the fan grill mentioned, sorry, must've look over that part.
you are bound to forget soemthing, atleast it was just a few screw holes... lol - build looks great man..
Puressence
In Runtime
- Messages
- 137
- Location
- Walnut Creek, CA
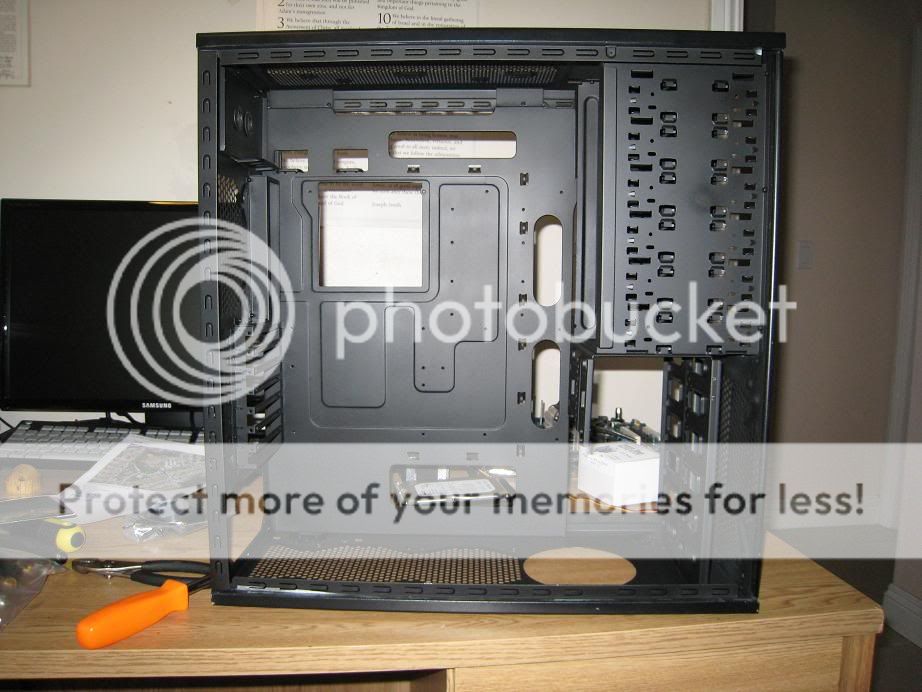
Yea, those holders are definately a pain in the rear. I had serious problems with mine to the point that I am just going to screw in my optical drives. Looking good so far. BTW, nice screw driver....I'm using the same one haha.
silver holders look good, i take it the rest of them weren't as difficult as the one that broke?
yeah on the first one i realized i had the button pushed in which made it a lot harder to put them back in lol... but i got the broken one on, it just doesnt work correctly... makes the overall look of the case better though
i should be all finished in the next couple of days. all i have left to do is drill the fan holes and install everything.
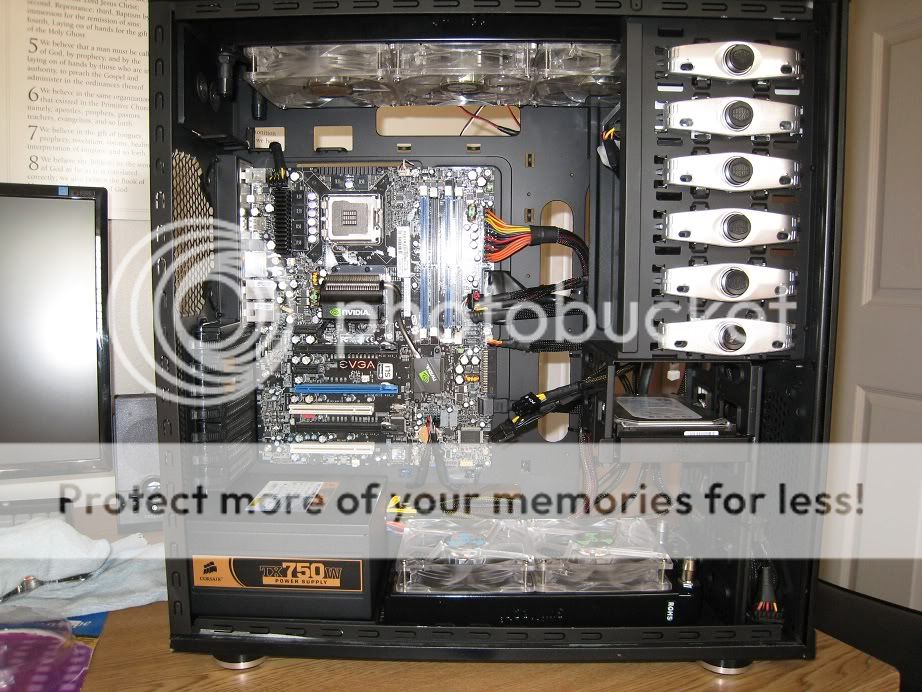
FINISHED!!!!!!! w00t.
pics:
bottom rad installed:

it was a really tight fit...

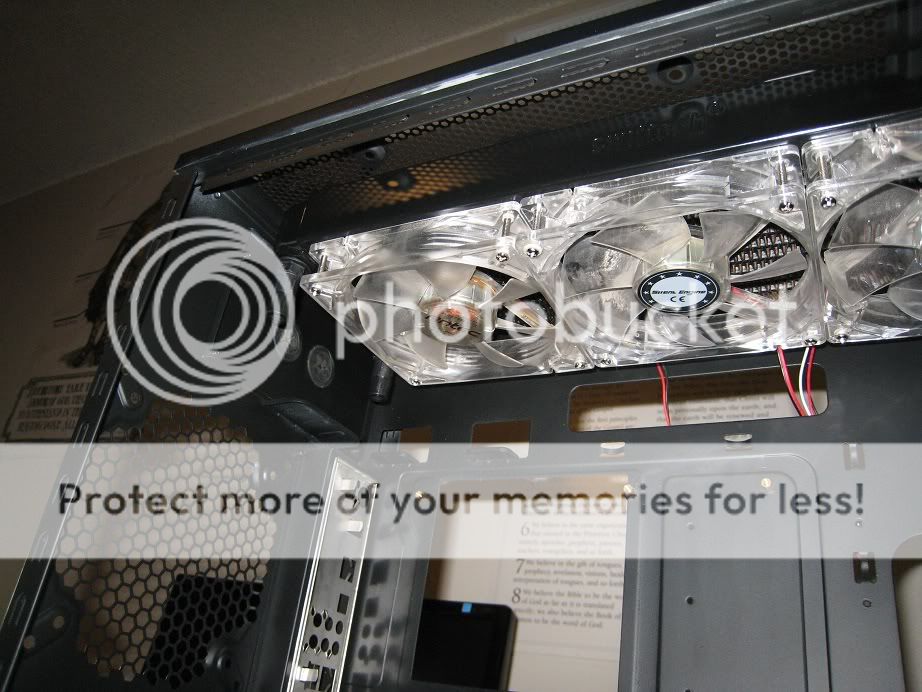
top rad installed:
wire management finished, also sleeved some stuff:
let the leak testing commence!! (i used more paper towels but didnt take a pic):

i had a FAT leak at first... but then saw that i hadn't tightened one of my worm drive clamps all the way, tightened it and problem was solved
all done :
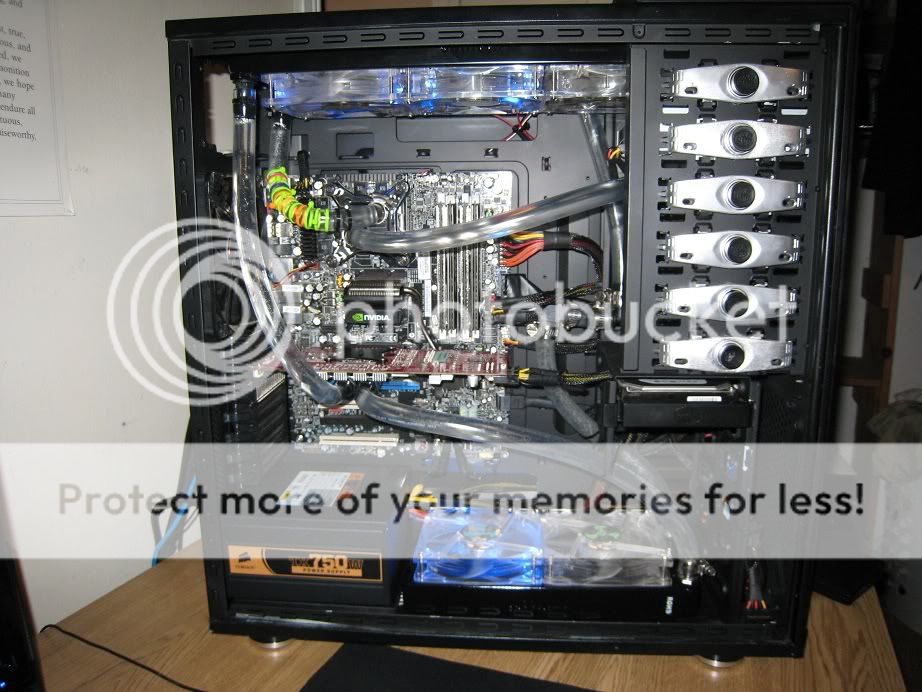


temps on my 4890 are amazing.... 33*C max load... that is a WIN right there lol
temps on the cpu went down a few degrees also
also, you know you like the multi-colored zip ties to prevent kinking LOL
oh yeah... there are tons of air bubbles stuck to the tube walls. is there any way to get them out or would just waiting work?
pics:
bottom rad installed:
it was a really tight fit...
top rad installed:
wire management finished, also sleeved some stuff:
let the leak testing commence!! (i used more paper towels but didnt take a pic):
i had a FAT leak at first... but then saw that i hadn't tightened one of my worm drive clamps all the way, tightened it and problem was solved
all done
:
temps on my 4890 are amazing.... 33*C max load... that is a WIN right there lol
temps on the cpu went down a few degrees also
also, you know you like the multi-colored zip ties to prevent kinking LOL
oh yeah... there are tons of air bubbles stuck to the tube walls. is there any way to get them out or would just waiting work?
- Status
- Not open for further replies.
Similar threads
- Replies
- 1
- Views
- 395
- Replies
- 1
- Views
- 609
- Replies
- 0
- Views
- 869