Project Sestren Worklog - World's First Back/Outside Mounted Tri Loop Cube!

Status
Not open for further replies.
CIMG1970.jpg

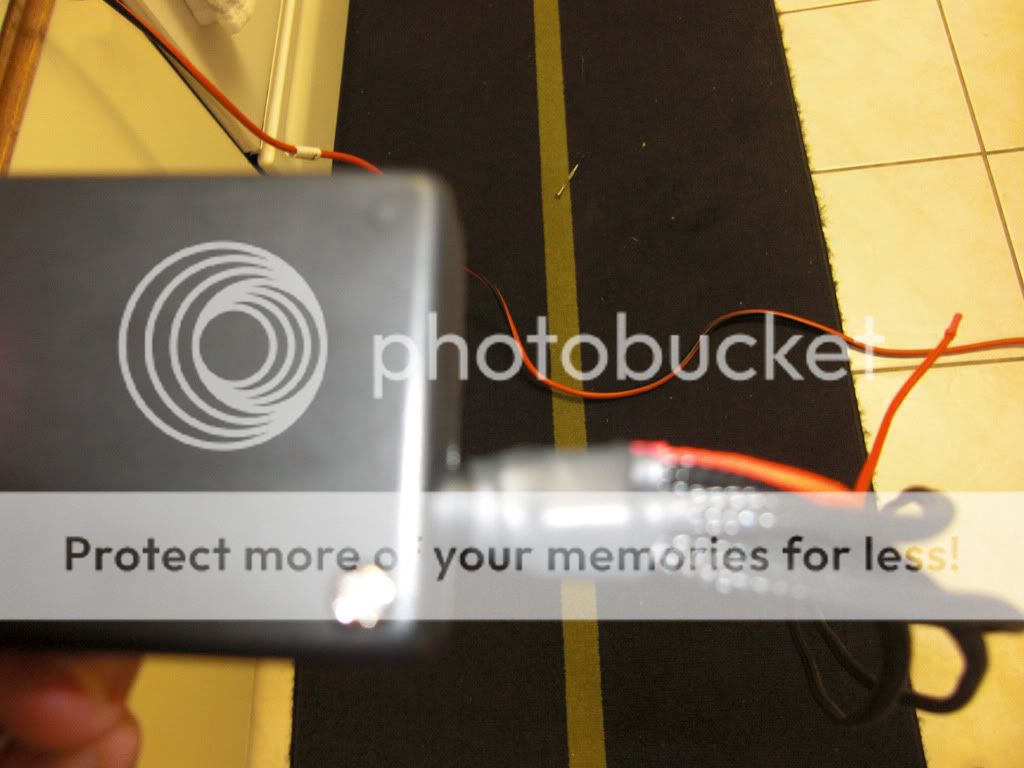
Here's the Bubble Cold Cathode

CIMG1971.jpg

The Bubble Cold Cathode power

CIMG1972.jpg

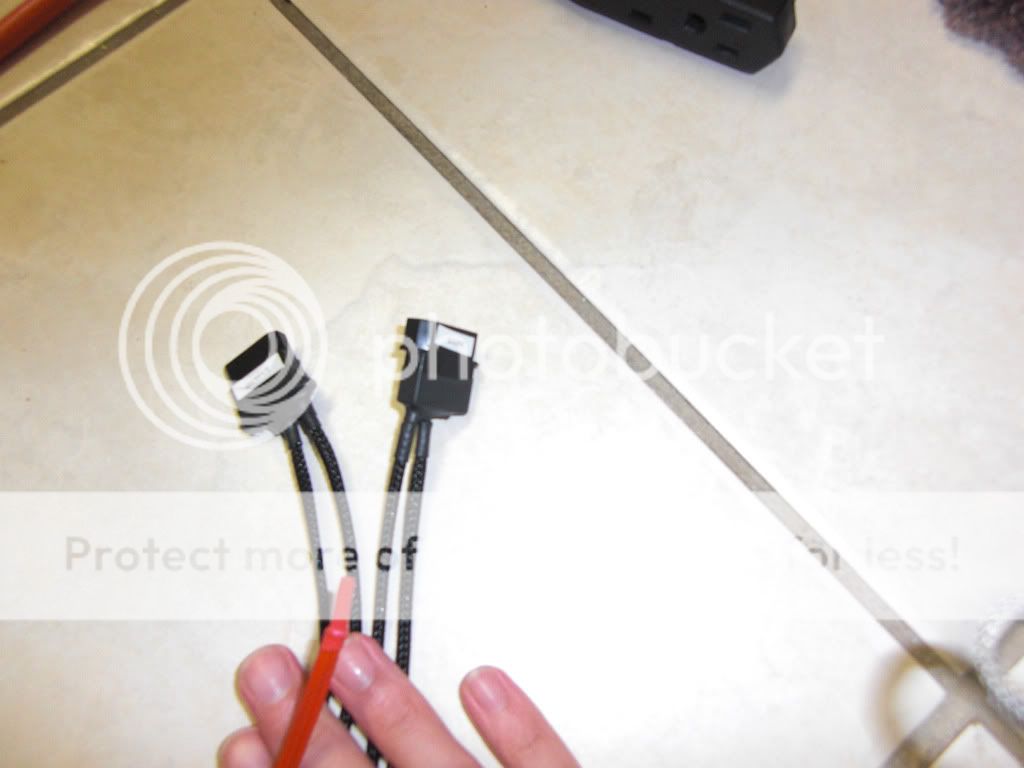
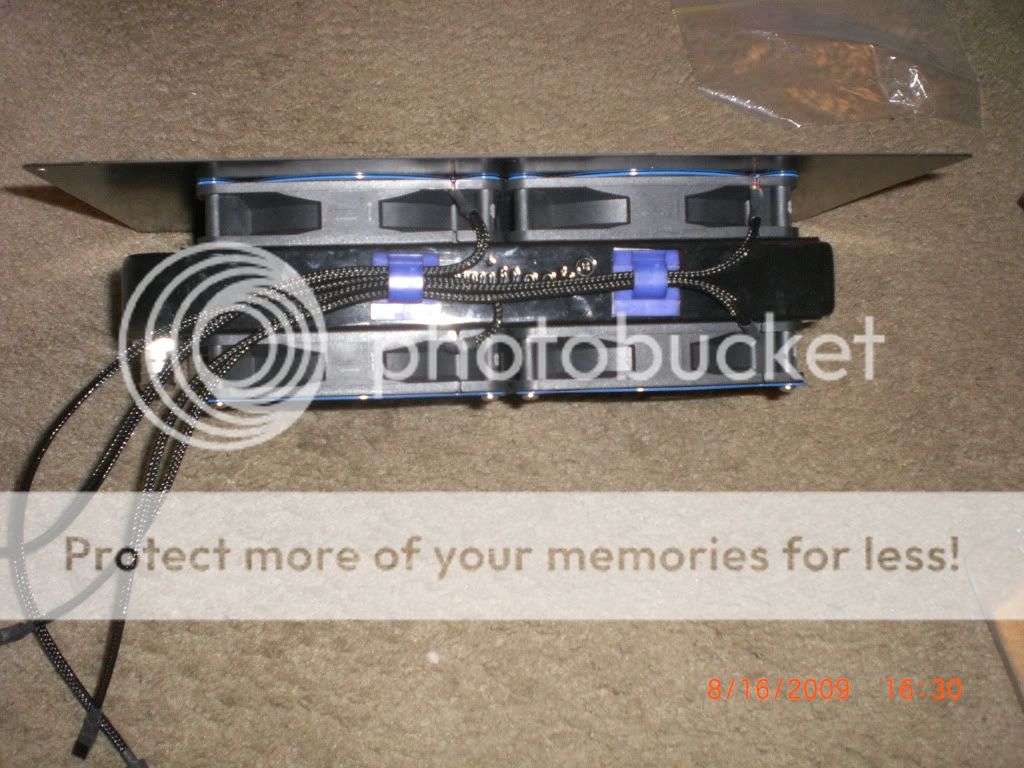
Better Pic of the above

CIMG1973.jpg

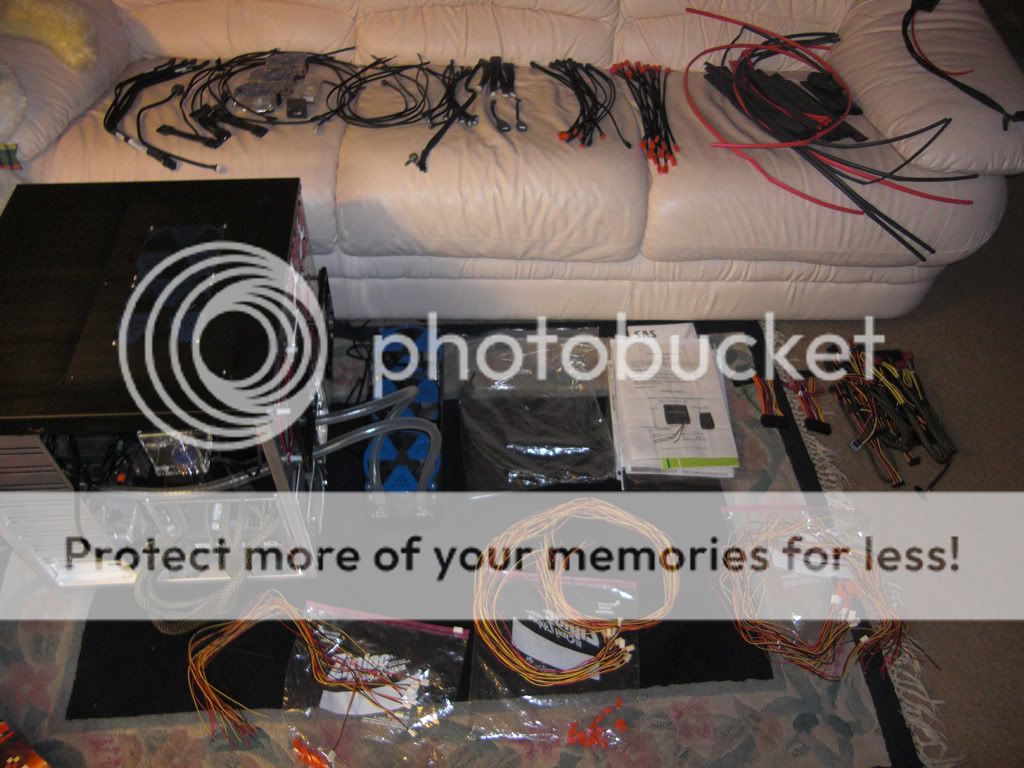
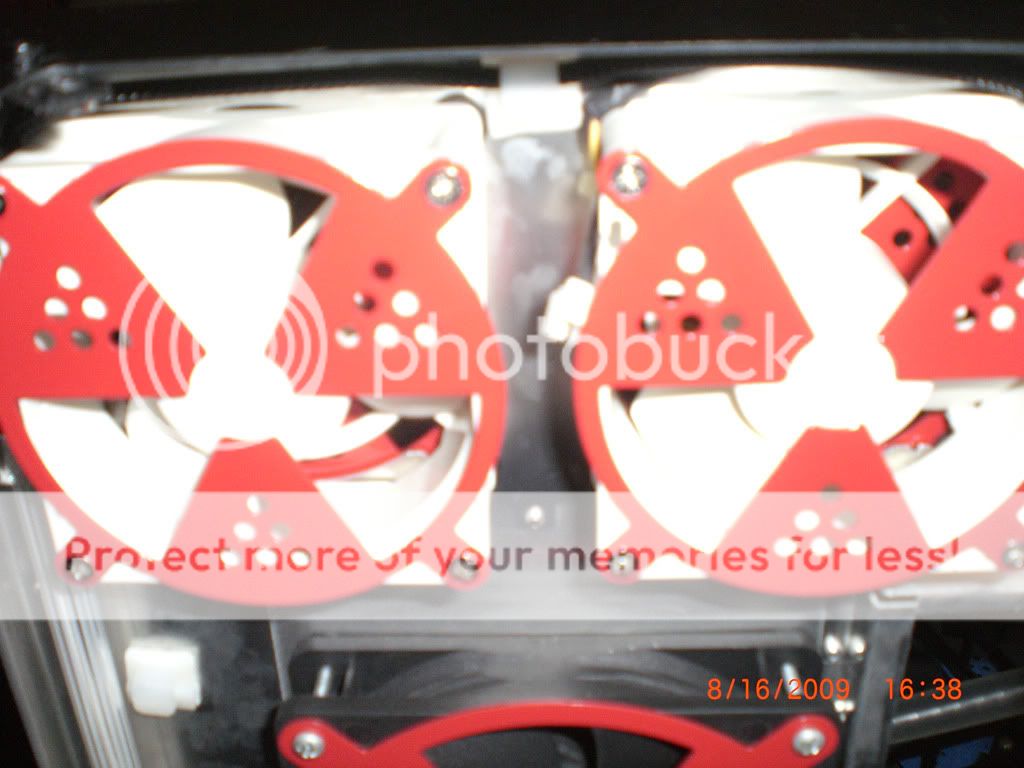
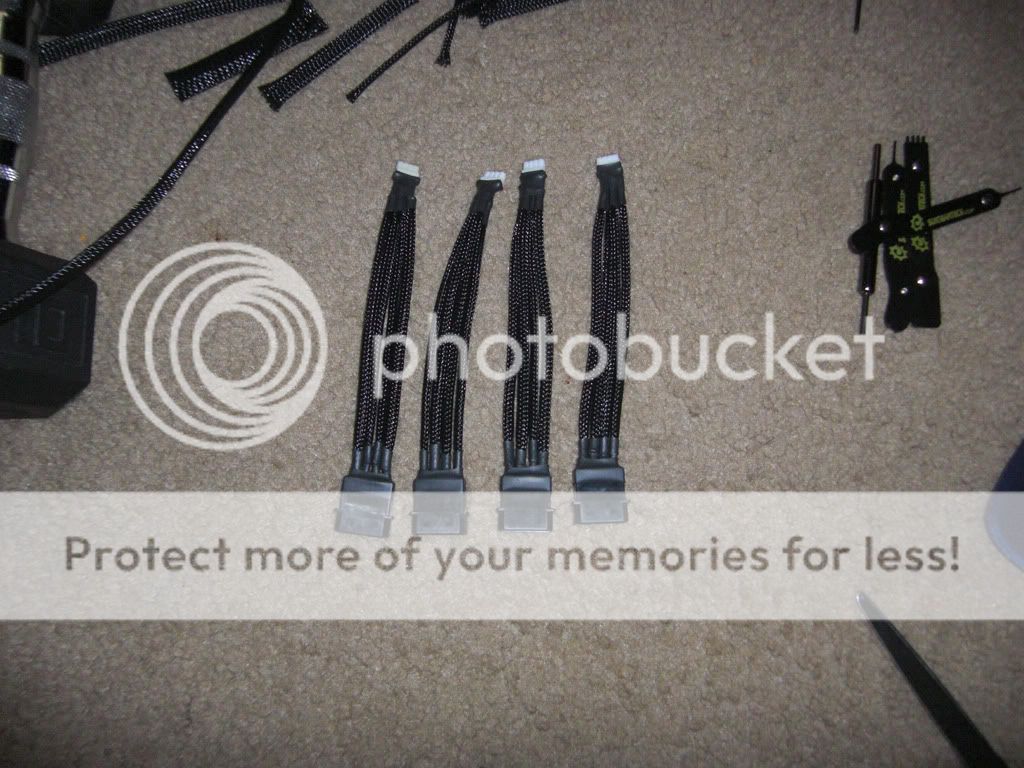
I am not using any brackets, I want my entire 7 Case slots free for gear, so I dismantled and will reroute everything internally, I will be using a Logisys RM01 to remotely turn it on and off

CIMG1974.jpg

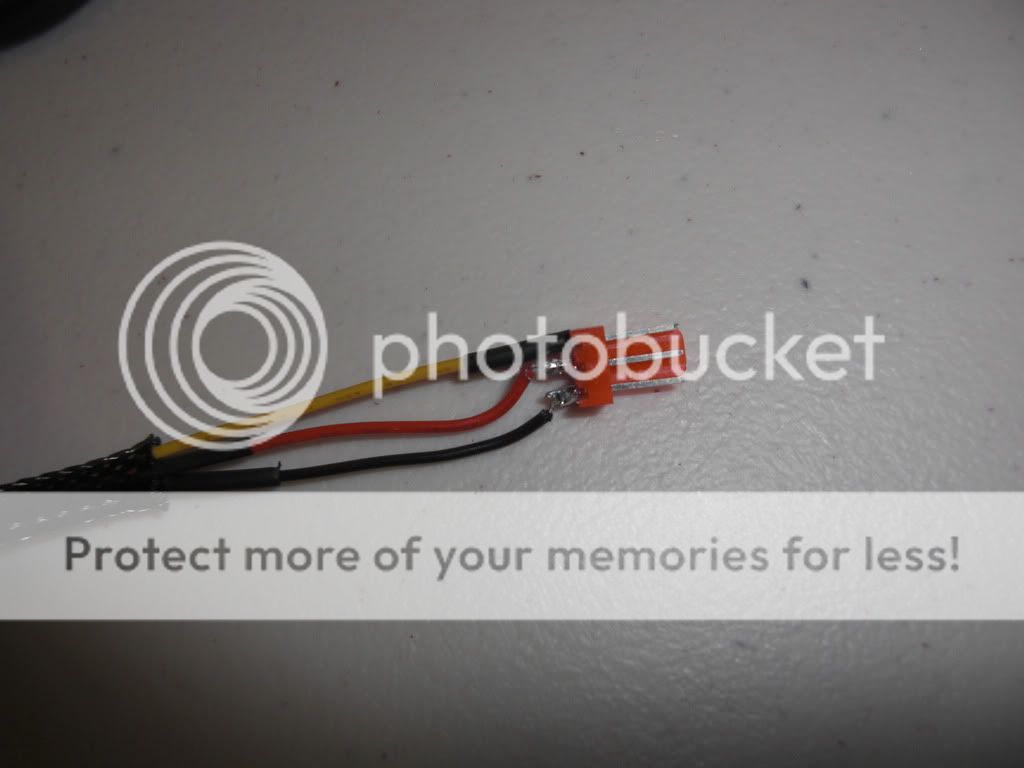
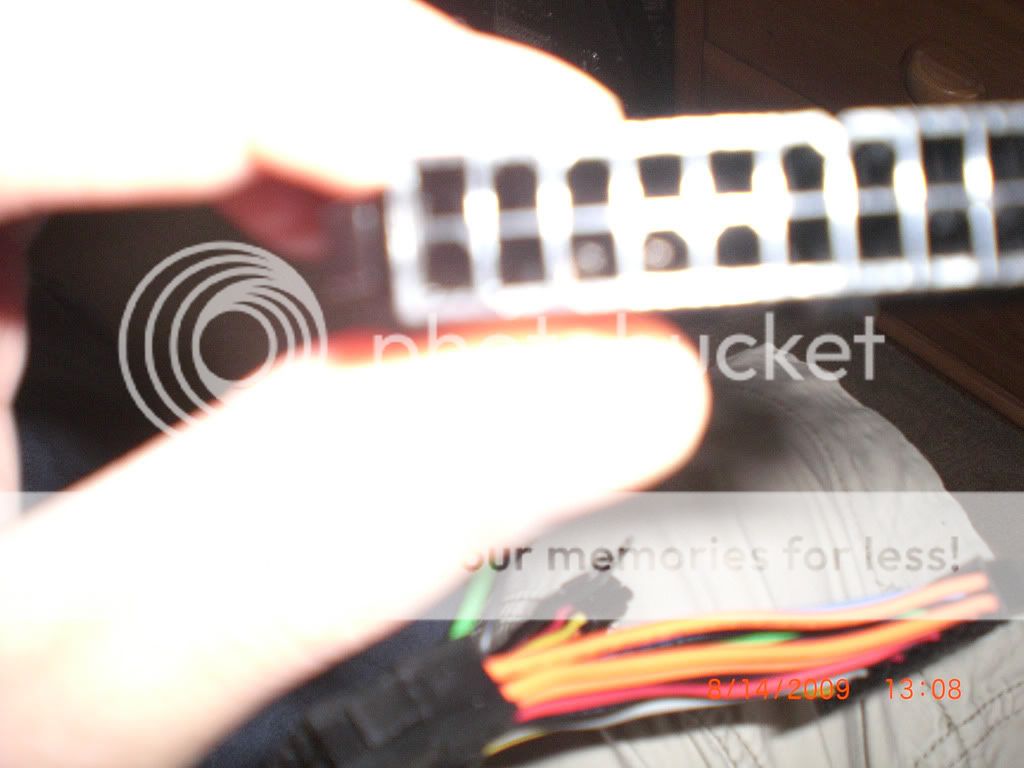
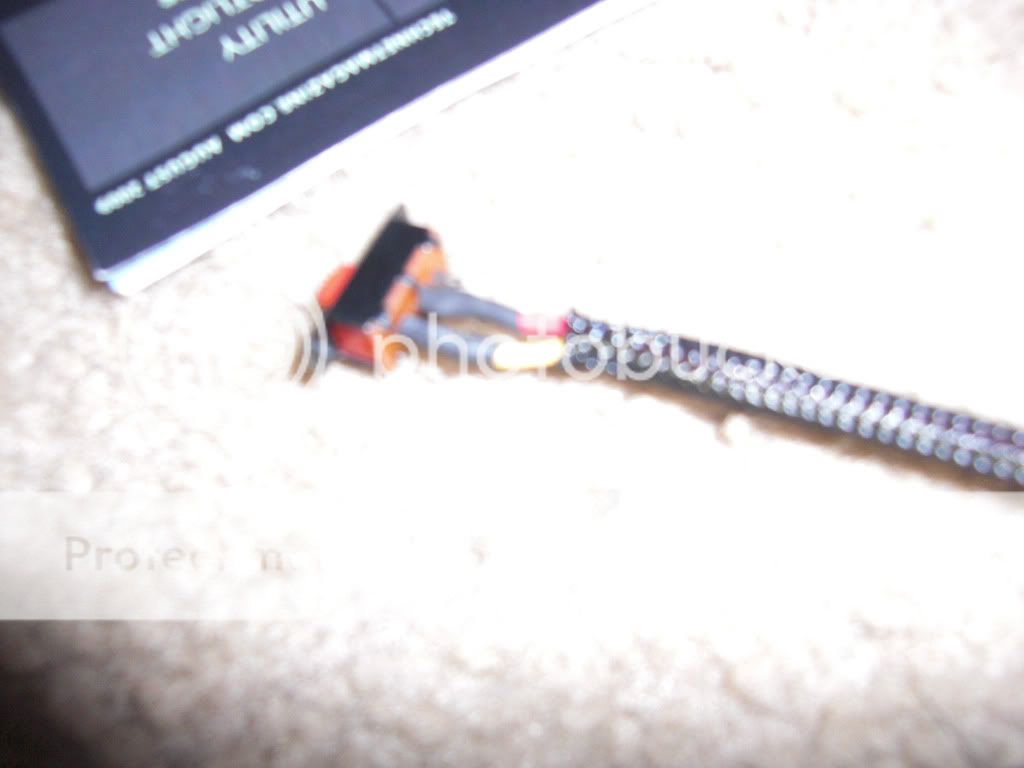
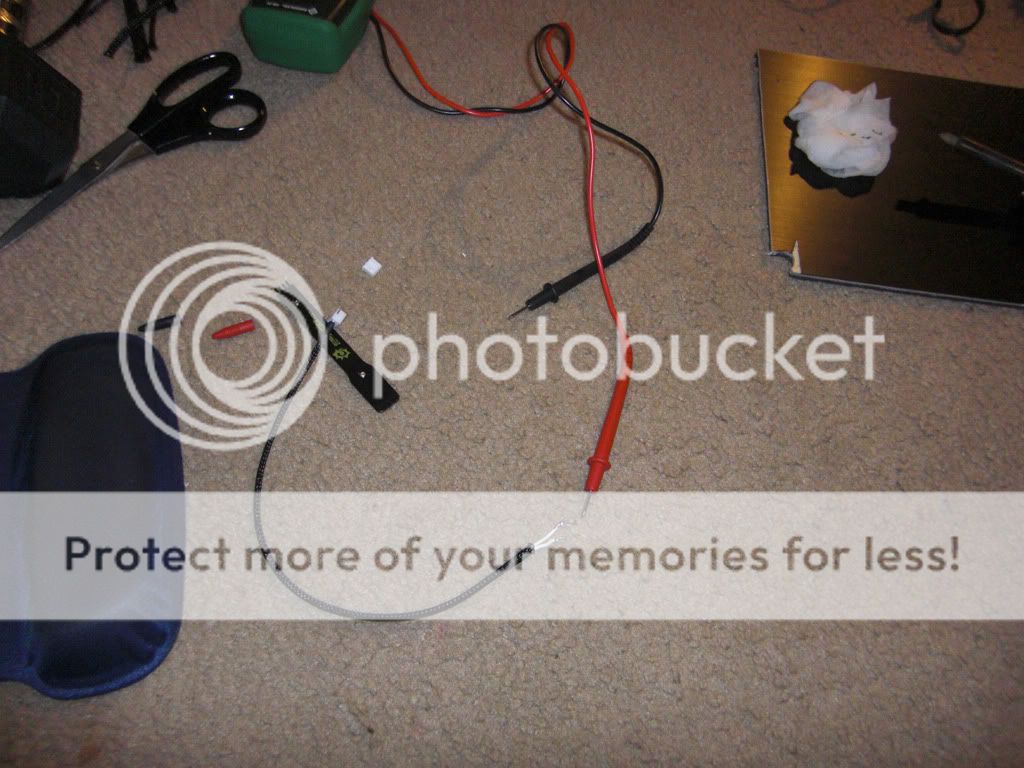
Time for surgery, because this CCFL uses a Y Cable, and its not to proportion, time to cut

CIMG1975.jpg

Cuts in place

CIMG1976.jpg

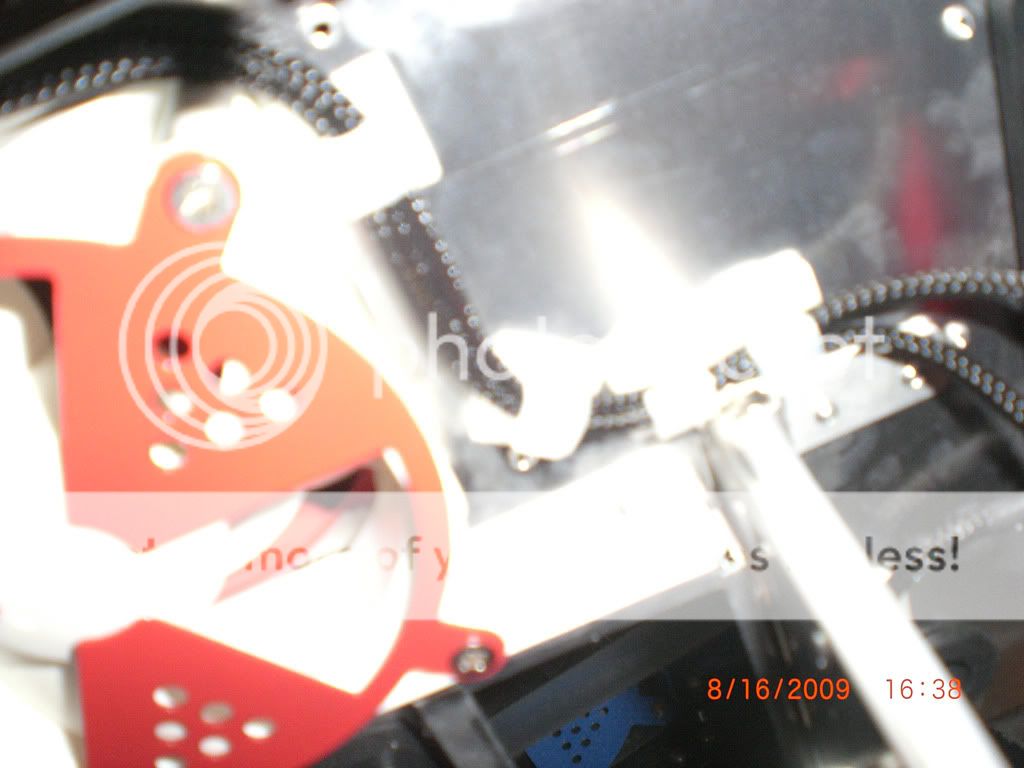
Time to put it back together

CIMG1977.jpg


CIMG1978.jpg

Complete Y Cable
 
CIMG1979.jpg

Just as a finishing touch, I also heatshrunk the contact points, all of them individually for extra protection

CIMG1980.jpg

Time to work on the Fan Controller Power Connectors

CIMG1981.jpg

Tada! If only it were this fast in real life

CIMG2002.jpg

Time to work on cold cathode extensions, unfortunately because they are both white, I am using a multimeter, to make sure the right ends come out, because when you sleeving they may go sideways etc.

CIMG2003.jpg

Tested each individually mutiple times, then tested all of them together, worked great, PASSED

CIMG2004.jpg

Each individually

CIMG2005.jpg

Heres a fan Extension, the way it comes, its actually very well made, but I can make it better, so I shed tears while tearing it apart

CIMG2006.jpg

Tearing it

CIMG2007.jpg

Go figure to save money, they only heatshrink the middle contact point, heh! Very Chinese, cheap but works, I will heatshrink all of them : /

And working on that tomorrow, Take Care!
 
Update: Well I felt bad for the poor 2 people that are subscribed to this, so I formatted the pictures anyhow, so you can follow my fun. Although I am pretty weary of sleeving hehe... only thing left to arrive is the 165 ft of sleeving.

CIMG2008.jpg


This was my red sleeving and more heatshrink I needed, note the drawings Nils is famous for, as per request thats me working on my PC-343 cube ;)

CIMG2009.jpg

That's me everyday.... Sleeving....

CIMG2010.jpg

That was that order, that's both packages

CIMG2011.jpg

Here's one type of fan extension, its like always a before and after shot, since theres like 20+, maybe 30? fans in this computer, I have alot of these to do heh

CIMG2012.jpg

This is the CCFL relay, partially sleeved and my coconut, not sleeved

CIMG2013.jpg

Another shot, and coconut again, it was pretty good, but over priced not to much water in there : /

CIMG2014.jpg

More work on it

CIMG2015.jpg

Almost there, and also you can see why I take so long, I sleeve everything individually, then I sleeve as a whole etc, etc, many steps : /
 
CIMG2016.jpg


CIMG2017.jpg

Heres a close up of it completed, its alot more work, but I believe the results speak for themselves

CIMG2018.jpg

Here's input and output labeled

CIMG2019.jpg

Here's a stock shot of a standard sleeved 3 pin fan cable extension

CIMG2020.jpg

Took a break to reflect on whats sleeved and what needs to be sleeved, theres more sleeved stuff inside the cube, so many wires!!!

CIMG2024.jpg

After killing the previously seen cable, here it is reborn, and also with a red tip, to keep in theme, ( Watch me end up with a Blue motherboard or something, lol)
 
CIMG2025.jpg

Tada! Here's the New and Improved, I mean its both new and improved, thats pretty amazing

CIMG2026.jpg

Another shot, now 36 more of these to go XD

CIMG2027.jpg

Heres a shot of heatshrink, no one will ever see EVArrr! However To keep my mind at ease, and for quality, I individually heat shrank each contact point, previously they came with 1, I did all 3, which imho is more complete, not needed per say, but this whole build has not needed parts, heh!

CIMG2028.jpg

Taking a break from 3 Pin fans, Those pins love to break and make me start over :(, and did all the Molex extensions cables, here is a before and after

CIMG2029.jpg

And Tada! there's also 5 that look the same but are smaller, for things that don't need to go through the entire case

That's it for now, and onward to 3 pin fans extensions, then finally psu extensions, then PSU itself, and I am done with sleeving for PHASE 1 of this project.

This is a 2 part project, and I hope to get part 1 done by this weekend, not likely but trying.

Be back later!
 
Quick Update:

Nothing to terribly new, I finished all the extensions, and now just need the 2 Power Supply Extensions, and all the Power Supply and its cables to be sleeved, and then I start on the actual build.

CIMG0001.jpg

The reason the extensions take so long, is I want them to 1) quality, 2) they are opposite reversals, ie, if laid flat, there are no kinks, and the top and bottom are reversed so when I arch them, or circle them, they connect into themselves, you be surprised how much harder this makes, all customs extensions are done :). Was quite challenging, but once in a groove I was able to knock alot out, the main problems is when something goes wrong, and I have to redo the entire thing, multiple times

CIMG0002.jpg

Here's what's left the PSU extensions

CIMG0003.jpg

Here's whats sleeved, the other stuff is inside the cube already

CIMG0004.jpg

Here's the psu cables that need sleeving

I am hoping to have enough energy and determination to finish them today - tomorrow, and start the build by latest tomorrow night. And Monday finish building, and Tuesday be on Windows 7.

And that completes Phase 1 of the project.

Phase 2, is new hardware, also I could use some suggestions on Phase 2.

I am thinking of adding accent LED's, and using Metal Polish and making the inside reflective, need ideas! I can't powder coat it myself, so need ideas I can do at home. Also not to keen on painting the insides with normal paint.

Alright Talk to you later.
 
Anyone have any suggestions on opening the male pins of the sleeves, the female ones I opened, albeit it was really difficult, but the male do not want to come out. Also in case one of the pins break, anyone know where I could pick up replacements? Thanks! Pics!
CIMG0001-1.jpg
CIMG0002-1.jpg
CIMG0003-1.jpg
CIMG0004-1.jpg
CIMG0005.jpg
 
Quick Update:

Thanks for Enermax for helping me out with some cabling!

Nothing terribly exciting, and keep in mind this is a test cabling run, I am going to remove everything and tidy, but man theres alot of wires haha.

Also I got a new camera, so next update will feature pictures from it :), and Ill attempt to take better pictures haha.

CIMG0006.jpg

This is the Veris FVD, cable it runs on 24 pins to the mobo, so I can remotely boot the computer, its just acts like a relay

CIMG0007.jpg

Dual power supply cable, this and veris are all that needs to be sleeved

CIMG0008.jpg

Another full shot, funny story while a bit angry, I melted this cable, heh! Couldn't get the pins out and thus yea...... bad idea, but it works heh!

CIMG0009.jpg

Top Radiator, with fan wires attached to the side

CIMG0010.jpg

Back Fans wired and routed
 
CIMG0011.jpg

Better shot at the routing

CIMG0012.jpg

Back side and adding fan extensions

CIMG0013.jpg

Everything is routed through the middle

CIMG0014.jpg

To many cables, though in a practical sense you can't see them

CIMG0015.jpg

Side where Motherboard stays, this is basically what will be visible, and with window you can't see any of the cabling period

CIMG0016.jpg

See what I mean ;p, everything is routed so I can pull and tug it a little, so I have some leway
 
Status
Not open for further replies.
Back
Top Bottom