Project Sestren Worklog - World's First Back/Outside Mounted Tri Loop Cube!

Status
Not open for further replies.
CIMG1872.jpg
Cables and my Radeon 3870x2, ram
CIMG1873.jpg
Organized crap, say hi to server again
CIMG1874.jpg
Ok No more organizing the crap, now it just needs to magically get inside the cube
CIMG1875.jpg
Heres the garage in all its glory, I am going to go file it now
CIMG1876.jpg
More organized crap, so I can actually store it better
And that's it for now, more stuff coming soon!
 
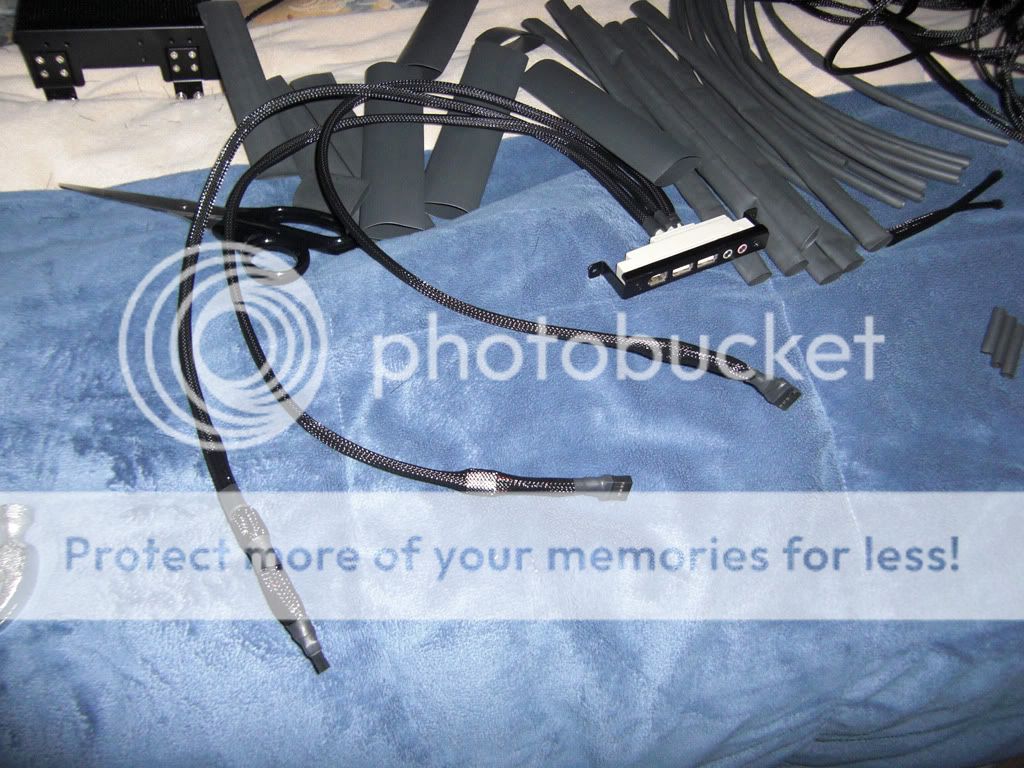
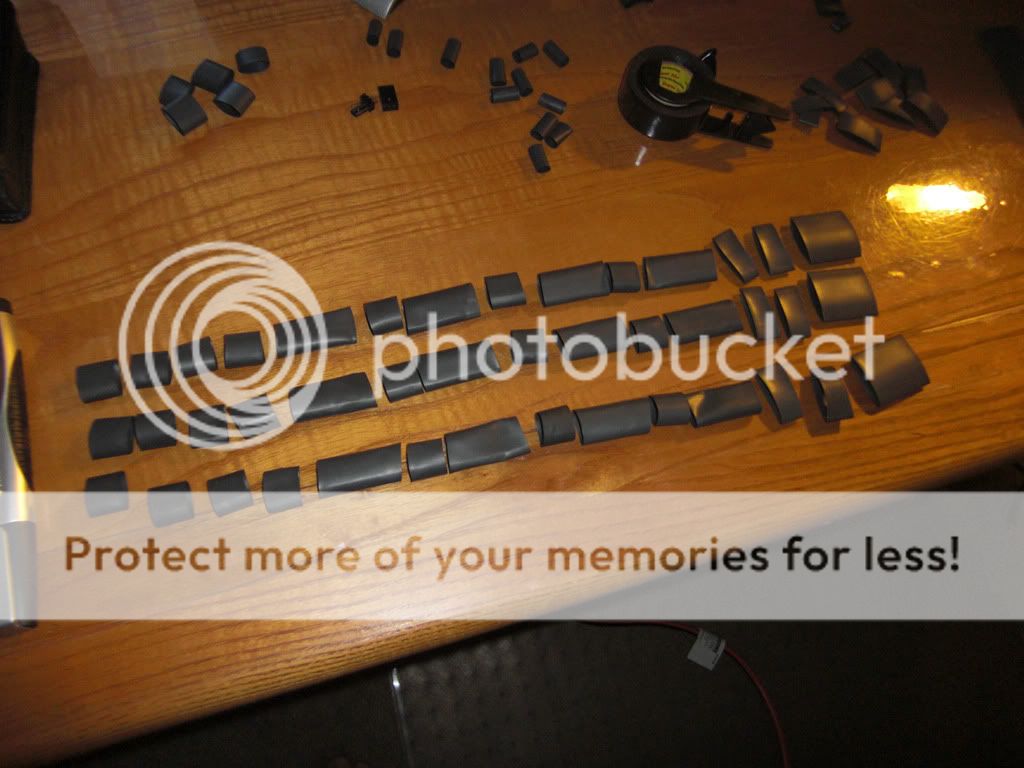
Here's a quick update on the sleeving.

The computer parts for now is actually done. Instead of the Areca 1222, I opted higher and went with the 1680ix + battery back up. So I can hook up to 128 hardrives, which isn't happening, but at least I can plug in all my 10 :). And I should have good performance whenever I run 4x SSD's in Raid 0. Plus I can run Raid 6, 5, combos, etc,etc.

Also my original motherboard the Asus P5WD2-E Premium, unfortunately decided to die, when I sent it in for Asus for RMA, they couldn't fix it, and instead sent me a P5WDH Deluxe, theres some trade offs, and I miss my old board, but this board opened up a cheaper upgrade path for me. So instead of getting an I7 for now, I am going to wait a little longer. I spent a bit to much on this upgrade as it is, and it will be cost beneficial to wait on the following, until prices drop.

This is what's left to get, which I'll get at a later date.

CPU: i7 or better, whatever is available.

Motherboard: EVGA X58 Classified or whatever is best OC'er period at the time.

Ram: 12 gigs of Corsair Dominator GT or better.

Graphics Card:
GeForce 295 GTX x2 Quad SLI or Whatever Quad Fire, or Quad SLI gives the best performance.
GeForce 260 216 PhysX If I go Nvidia, I'd like to add Physics support.

Power Supply #2:
Enermax Rev 85+ *This I want to buy ASAP, whenever I can afford to.

Water Blocks
295 GTX x2 or whatever GPU's I end up with.
260 GTX

Basically I need CPU, GPU, Motherboard, Waterblocks, and PSU #2

For now, I'll be running a Q9550, clocked at whatever I can get it to clock, most likely around 2.66-3.0 ghz overclocked (i975x Limitations) and my 3870X2, and 4 gigs of ram, and one 1050w PSU, which honestly for work, runs great, so I am set for now :), and if I happen to be lucky and run into disposable income, then Upgrades happen :).

Everything else is A-OK, guess I can't complain, Ill be with a pretty decent system noneless, not top of the line, but should run mainstream (I hope)

Heres the quick update.

CIMG1879.jpg

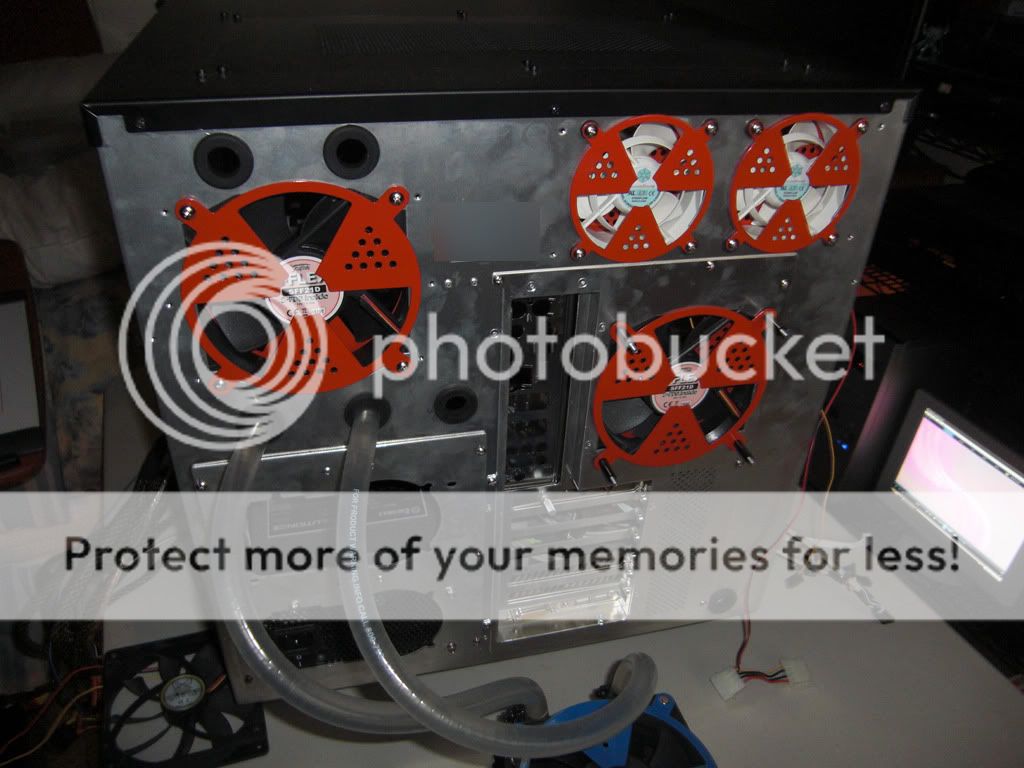
Here's the back of the computer, looks cool when everything is mounted.

CIMG1880.jpg

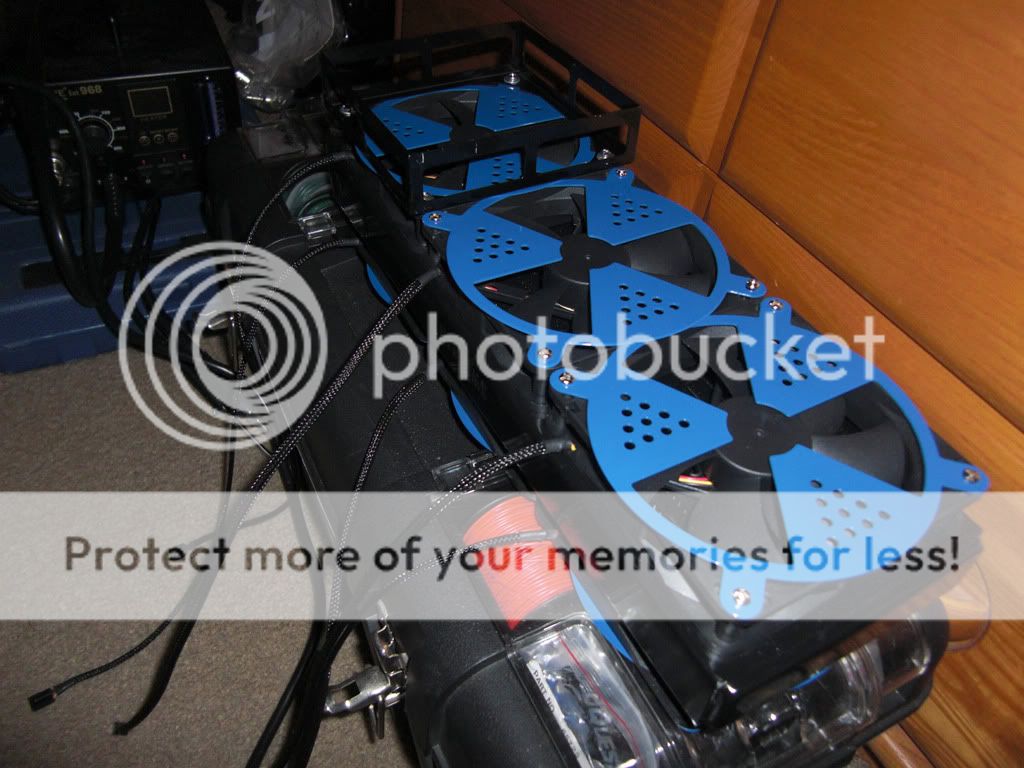
Radiator #3, 240mm all mounted up and ready to go, note that all my radiators are using high CFM fans, on both sides, ie the 240 has 4 fans, and the 360's have 6 each, 2x swiftech radiators are running all on yate loons, while the HW Rads, are running 6 Ultra Kazes Fat
 
CIMG1881.jpg

The insides before, Now its all sleeved, Ill show pics in the next update :)

CIMG1882.jpg

The tools are ready to go! Let the Sleeving begin!

CIMG1883.jpg

The Swiftech Radiator single pass, I double insulated everything, so this is the first step, it has the sleeving applied but I went a step further and added another layer of heat shrink as a finishing touch, you will see it in the next picture, looks nice imo

CIMG1884.jpg

Heres an upclose shot, all grills are proportionally aligned.

CIMG1885.jpg

Another Angle

CIMG1886.jpg

Heres the single Dual PSU Boot cable, looked decent, but I went ahead and tore apart that sleeving and am individually sleeving it now

CIMG1890.jpg

Just so you notice, I changed all the fans Internal connectors, they were an uglyish brown before, and are now black and or red. However sometimes the pins would break, so I had to actually remake the cables, ie cut, strip, crimp/sodder etc. I am going to have to do that ALOT, because I changed all connectors to black, etc
 
CIMG1891.jpg

The pumps are sleeved, notice, the molex, and fan connectors are now black as well :), its the small details, comon MDPC!

CIMG1892.jpg

Upclose shot of the double insulation, this isn't the best one I did, nor the worst, but I think it looks good overall

CIMG1893.jpg

The 240 Radiator, sleeved

CIMG1894.jpg

How the sleeving magic is done

CIMG1922.jpg

Internal connectors, Firewire, USB, and Sound, I put 3 heatshrinks on firewire, to differentiate, and also help hold it, the reason the cables are fat, is because Lian Li, includes headers and extra single strands, I want to keep the headers, since its standard, but in case one day, I get a mobo thats not Standardize, I kept the single pins as well

CIMG1923.jpg

Heres the power, Reset, HDD light, etc sleeved

CIMG1924.jpg

The Insides of the Power, Reset, etc, etc

And thats it for now!
 
Update: Sleeving!

CIMG1925.jpg

Let the Sleeving begin.... again..

CIMG1926.jpg

Better shot, time to pull

CIMG1927.jpg

Doesn't come off, seems stuck, don't want to try my luck, time to improvise

CIMG1928.jpg

Messing with the Lian Li Fan Controller, heres the first tips

CIMG1929.jpg

Man that was alot of work, starting to look good though

CIMG1930.jpg

Upclose look at craftmanship

CIMG1931.jpg

Better shot

CIMG1932.jpg

Took a detour and decided to mess with the USB plugs, they look better this way imo
 
Update:

CIMG1953.jpg

Sleeved Speaker, looks uniform and sleek, as it has dual insulation

CIMG1954.jpg

Up close shot of the speaker

CIMG1955.jpg

Speaker Tail

CIMG1956.jpg

Water Pump LEDs

CIMG1957.jpg

USB Before

CIMG1958.jpg

All Sleeving is preplanned and set aside like this, this is all the heatshrink that went in the REVISED Octopus Sata cable, I wanted for it to have a better finish, and I sleeved its Sideband, looks kewl in my opinion

CIMG1959.jpg

Heres the Sata Cable finished, in all its glory, as well as the Sleeved USB connectors, its for the Veris, and for the Floppy

CIMG1960.jpg

Up Close of the Sata Connector

CIMG1961.jpg

Upclose of the legs of the Sata Connector

And that's it for today.
 
Update: Basically now finishing the extensions, ie Fan, PSU, the actual PSU + cables, then the Sata Cables, the build it, and they will come.

CIMG1962.jpg

Preparing the Cold Cathode Tube, its too bluish, and hence converted!

CIMG1964.jpg

Unfortunately the heatshrink does not wrap around it , so I had to be creative and create two jackets for it

CIMG1965.jpg

Time to put it inside its condom

CIMG1963.jpg


CIMG1966.jpg


CIMG1967.jpg


CIMG1968.jpg

Side View

CIMG1969.jpg

Working on the fan extensions
 
Status
Not open for further replies.
Back
Top Bottom